Payment Connector Accounts
In this Topic:
Creating a new Payment Connector
Overview
To Pay by Token or Pay by Device, you must set up a Payment Connector Account profile. Payment Connector accounts define several things including the Payment Provider being used from the available supported list, the Merchant Account, the Location as defined by the Provider, the User id as well as rules about how the connector will reauthorize. Also defined is the Payment Method code which is exposed as a dropdown on many of the Business Central Forms (e.g. Sales Order, Invoice etc). You can define as many Profiles as needed. Where there are more than one profile, you will often see an additional intermediate dialog asking you to confirm which Profile you wish to use. If your business needs are complex, we recommend discussing this topic in detail with Retail Realm and/or the Payment Provider to optimize your setup.
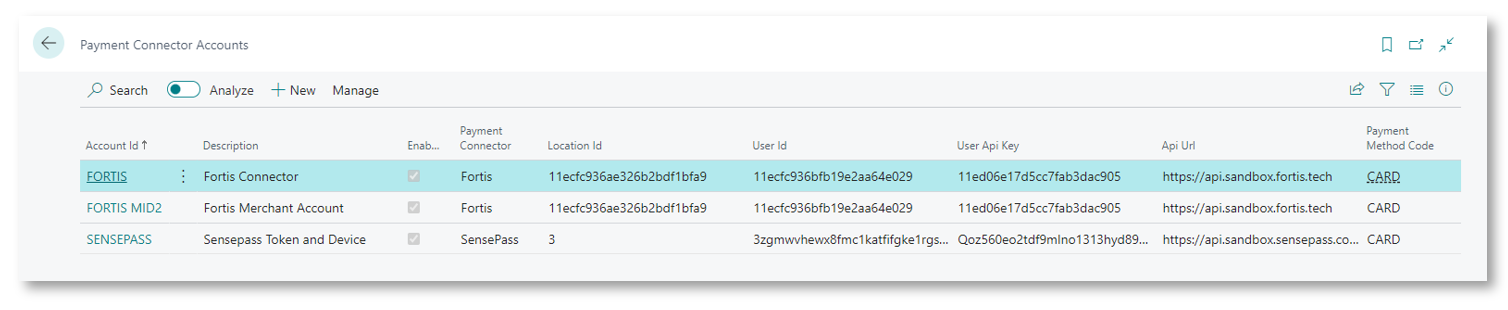
Payment Connector List
To show the Payment Connector List, Choose the  icon, enter Payment Connector Accounts, and choose the related link.
For a detailed explanation of each field, please refer to the table below in Creating a new Payment Connector Account
Creating a new Payment Connector
When you create your Payment Connector, you must be in receipt of either Test or Production credentials in order to create the record. Please refer to the Implementation Guide contained herein for further guidance and sign-posting.
Prerequisites (Standard)
You must define a Payment Method for your Card Payments as well as a Balancing Account.