Pay By Device
Pay by Device allows you your customer to pay a Posted Sales Invoice in-person using a regular Credit or Debit card using an EMV Payment Terminal or Pin-Pad. This topic documents the following items:
Pay a Posted Sales Invoice (Fortis)
Pay a Posted Sales Invoice (Sensepass)
Pay a Posted Sales Invoice (Fortis)
To Pay a Posted Sales Invoice, follow these steps:
- Open the relevant Posted Sales Invoice
- Navigate to Actions > Pay By Device
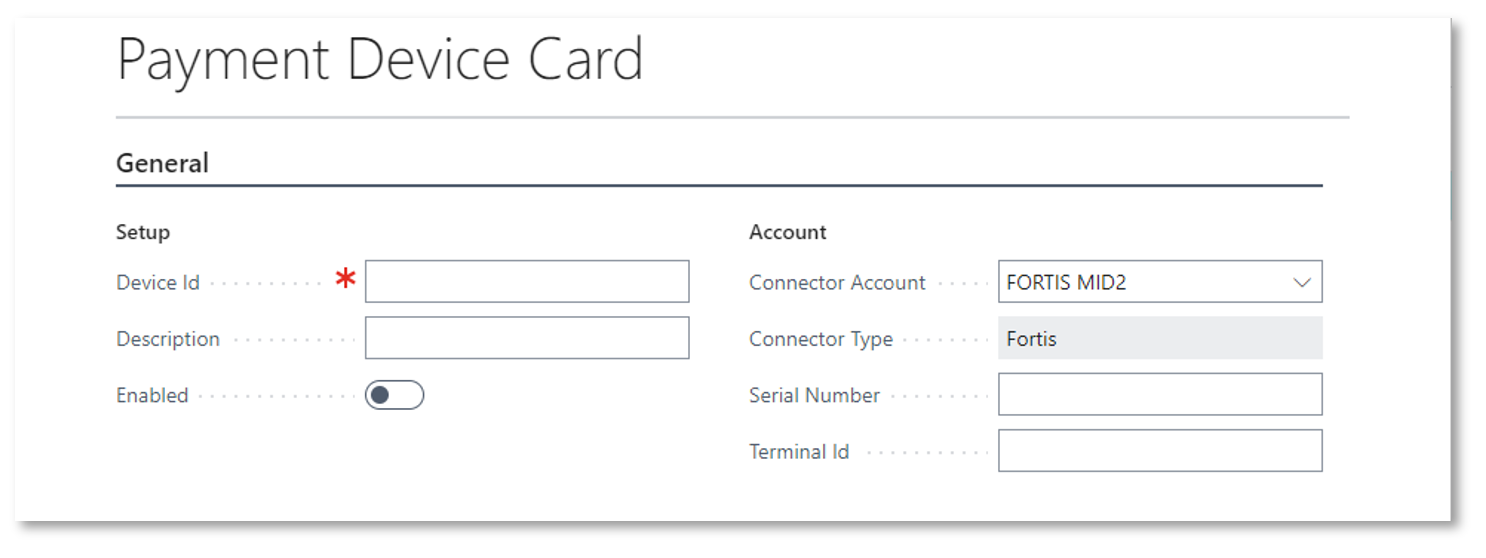
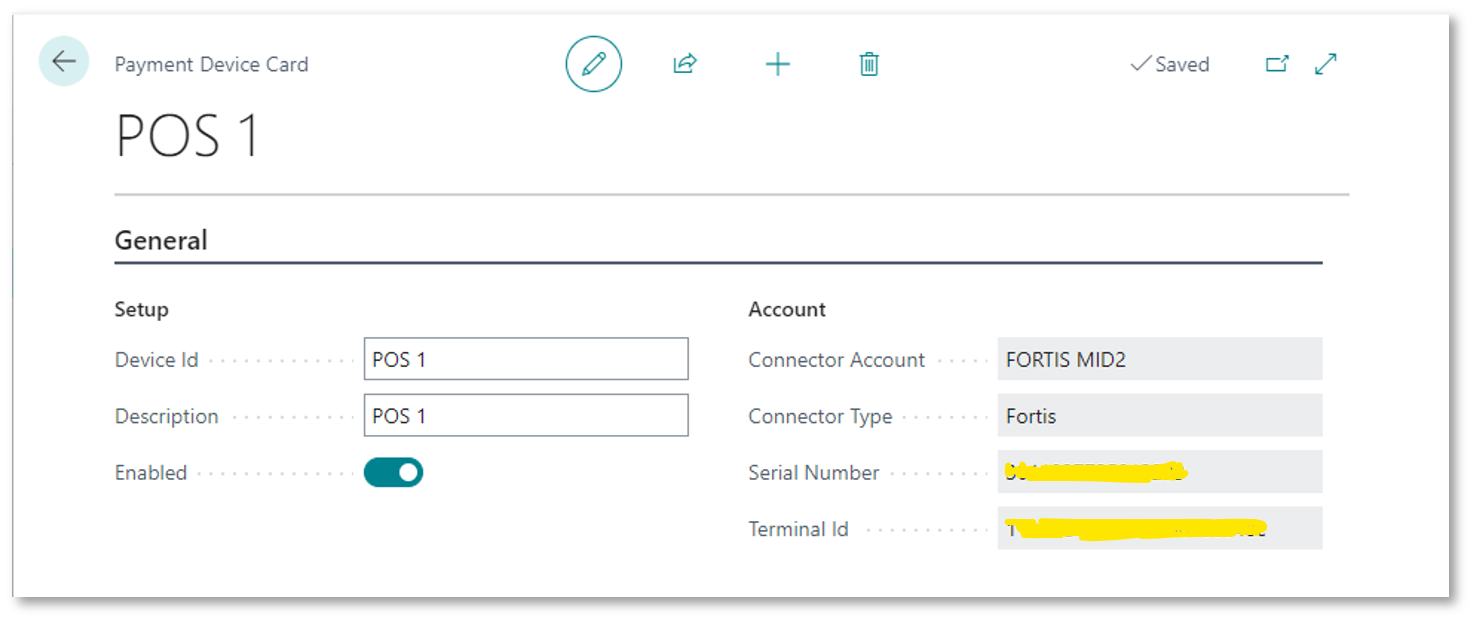
- This opens the Card Payment form:

- Select the Device you wish to use, from the Device Id dropdown.
- Select OK
Note if you wish to pay a lesser amount, you can override the Amount textbox.
- The Payment Providers Card Payment form will be displayed and confirm the Device, the Amount and indicate the real-time status of the Transaction.

Pay a Posted Sales Invoice (Sensepass)
To Pay a Posted Sales Invoice, follow these steps:
- Open the relevant Posted Sales Invoice
- Navigate to Actions > Pay By Device
- This opens the Card Payment form:

- Select the Sensepass Device you wish to use, from the Device Id dropdown.
- Select OK
Note if you wish to pay a lesser amount, you can override the Amount textbox.
- The Sensepass Card Payment form will be displayed and confirm the Device, the Amount and indicate the real-time status of the Transaction.

Pay using Fortis and a Credit Card
Pay using Sensepass and a NFC Tag or QR Code
Review Device Transactions
You can review all transactions that have been conducted via the Payment Device whether they have approved, declined or failed.
Navigate to Device Transactions

|
Transaction Id |
The ransaction number for the ayment |
|
Transaction Date |
The ate the ransaction occurred |
|
Device Id |
The evice Id where the payment was carried out. |
|
Connector Type |
The Payment Provider used |
|
Connector Account |
The name of the Connector Account used |
|
Payment Method Code |
The ype of ayment ethod, e.g. Card |
|
Account Type |
.Customer |
|
Account No. |
The umber of the ccount, e.g. Customer Account. |
|
Document Type |
The type of ocument the ayment was made against, e.g.an Invoice |
|
Document No. |
The relevant ocument number, e.g. the Posted Sales Invoice Number. |
|
Document No. |
The Ledger Entry ocument umber |
|
External Document No. |
Reserved |
|
Amount |
The mount of the transaction |
|
Auth Code |
The Provider’s uthorization ode for the ransaction |
|
Last 4 |
Where a credit or debit card was used, the last four digits of the Primary Account Number |
|
Card Type |
Where a ard was used, the ype or rand of ard, e.g. VISA |
|
Ref. Transaction Date |
The Provider’s ransaction eference ate |
|
Ref. Transaction Id |
The Provider’s ransaction eference Id, e.g. 11eef32bccabc8009a87c1e9 |
|
Transaction Status |
The tatus of the ransaction, |
|
Payment Status |
The Provider’s tatus of e.g. Approved Declined None (here the transaction ailed) |
|
Status Check Code |
An internal value. Reserved for support purposes. |
|
Status Check Link |
An internal value. Reserved for support purposes. |
|
Reason Code |
The eason code from the Provider. See the opic on Testing |
|
Status ode |
101 = Approved 301 = Declined |
|
Posted |
A oolean field to indicate if the ayment has been osted or not |
|
EMV Fields |
The includes additional fields that are only populated when the card transaction is an EMV Transaction, e.g. by nserting or apping a card. These fields may be useful to the erchant when proving the customer was present and defending a chargeback. |
|
TVR |
The TVR Number, e.g. 0800008000 |
|
AID |
The Application ID – this relates to the Card Brand, e.g. MASTERCARD is a0000000041010 |
|
TSI |
E800 |
|
APPLAB |
The Application Label, e.g. MASTERCARD |
|
CVM |
The Cardholder Verification Method (wipe, nsert, ap ) , e.g. in erified |
|
PAN |
The Primary Account Number (asked), e.g. ************0011 |
|
IAD |
The IAD of the transaction e.g. 0210a00000000000000000000000000000ff |
|
ARC |
.g. 00 |
|
CURR |
The reported urrency, e.g. USD$ |
|
MODE |
.g. Issuer |
|
AC |
.g. dcbe109f99657262 |
|
AIDNAME |
The full name of the Application Identifier, e.g. MasterCard Credit/Debit (Global) |
|
Transaction Type |
The EMV type of ransaction, e.g. ale, efund |
|
Account Holder |
The ame of the Card or Account Holder, if this is present and returned from the Device/Payment Provider, e.g.LASTNAME/FIRSTNAME |
|
|
|
|
Entry Mode |
The entry mode of the ransaction e.g. C = Chip S = Swipe M = Manually Entered |
|
Payment Method Type |
The code representing the Payment Method, e.g. cc |
Retrying a Transaction

.
To check the status of a transaction and recover from it, follow steps:
- Navigate to Device Transactions
- Locate the Transaction in question
- Select Actions > Re-try
- The Provider’s Card Payment Dialog will appear and it will contact the Provider to query the status of the transaction.

- If the Payment Status was Approved, it will update the Device Payment record accordingly and ost the payment against the document.
Note – he final check is the transaction in the Payment Provider’s Portal.
Printing a Customer Receipt
You can print a receipt to give to your Customer to offer them Proof of Payment, or if the payment has failed, prove that the payment has not gone through. To access the receipts, follow these steps:
- Navigate to Device Transactions
- Locate the Customer’s Transaction
- From the Actions menu, select Print Receipt

- Select the Printer, and Report Layout if necessary.
- Filter the Transaction Id and add any other Filters as necessary.
- You can Send the receipt (Send to..) to a destination, Print or just Preview & Close.
Examples
Swiped Card
EMV Example (Dipped or Entered)