Support for multiple payment connectors
MAX Pay Global supports multiple payment connectors. Multiple payment connectors are useful where the POS is supporting different electronic methods of payments that are supported by different providers and hence separate MPG payment connectors. When utilizing more than one connector the Pay Card operation will default to the first connector.
To support subsequent connectors (2+) MAX Pay Global provides a special operation (6005) which invokes “Pay card” for these connectors within a single operation. Each connector is identified using a parameter. Note: Where no parameter is defined, the operation will default to the first (Default) payment connector.
The following text illustrates how to do this:
- Create an operation as shown below:
- Navigate to Retail and Commerce > Channel setup > POS Setup > POS > POS operations
- Create a new Operation with number 6005 with a name, e.g. “MPG Multiple Payment Connectors” with the following Permissions and checkboxes:

- Then add POS buttons accordingly. Create the first one. If the first one is a Credit card processor / payment connector and is the default, you can leave the parameter blank:
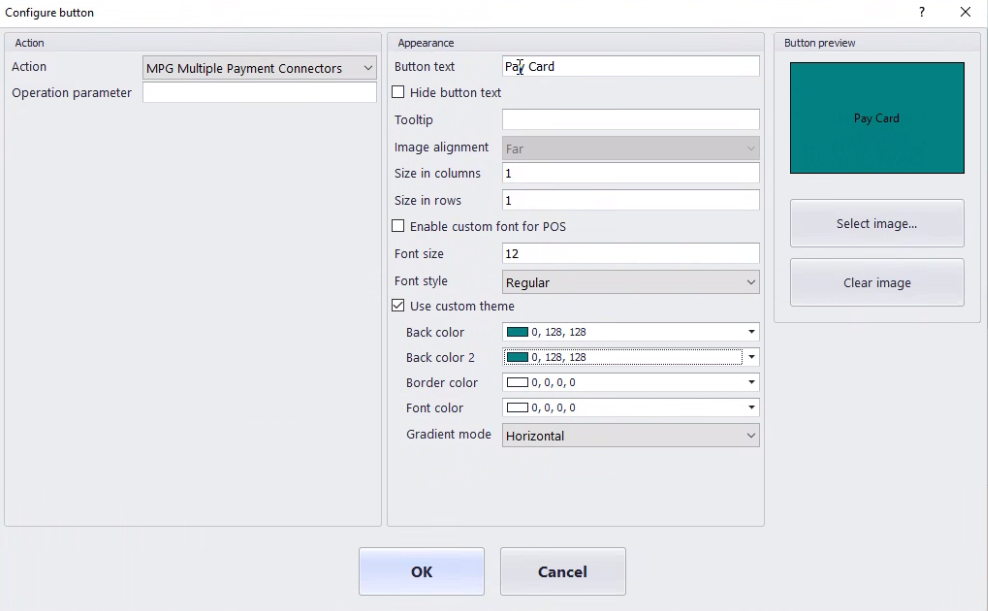
- To support another payment connector, e.g., Synchrony (A finance provider), set up this button:

- To support another payment connector, for example Citcon, add this button:

Note: If you are using only a Payment connector (of type Credit cards) and a second connector (of type Wallet or Gift), then you may define just a standard Pay card button for the Credit card connector and a second button for the wallet using POS operation 6005.
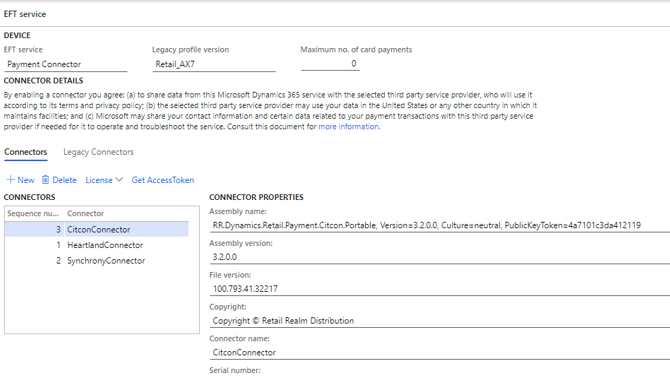
Configuring the Hardware profile
This section illustrates how to configure the Hardware profile for the Point of sale for multiple connectors:
- Navigate to:
Retail and commerce > Channel setup > POS Setup > POS profiles > Hardware Profiles - Create / Edit the EFT service dropdowns as shown below to add multiple payment connectors to the Hardware profile.
- The following illustrates a sample Hardware profile with three Payment connectors – the Primary / default one being in this case, Heartland, with a sequence number 1. Ensure the default connector is lower than all other connectors.