Configure POS receipts
This article describes how to configure Payment receipts for Retail Point of sale.
MAX Pay Global provides two methods to configure POS Receipts to print the Payment transaction data (e.g. Credit card or EMV block) that is returned from the payment provider. This often includes data that is mandatory from a payment method point of view (e.g. if it is a card EMV transaction).
Standard Dynamics 365 method
Navigate to MAX Pay Global > Shared parameters > General > POS and enable the option Print EMV details from connector (Yes)
From the receipt designer, use the EFT Message fields on the Customer and Merchant receipts templates.
To place the payment provider data on the sales receipt, use the Card tender details field on sales receipt template.
Please refer to this article
https://docs.microsoft.com/en-us/dynamics365/commerce/dev-itpro/embed-cc-receipt
To place the Gift Card Details (Pay gift card) on a Sales receipt then use the RRGIFTCARDCONTENT field on the sales receipt.
MAX Pay Global receipt variables method
Navigate to MAX Pay Global > Shared parameters > General > POS and disable the option Print EMV details from connector (No)
Use the RRCUSTOMERCONTENT and RRMERCHANTCONTENT fields on Customer and Merchant receipts to print Payment provider data.
To print Payment provider data on the Sales receipt then use the RRCUSTOMERCONTENT field on the sales receipt.
To print the Gift Card Details (Pay gift card) on the Sales receipt, use the RRGIFTCARDCONTENT field on the sales receipt.
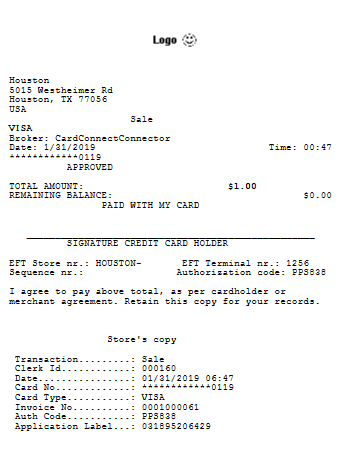
Store copy
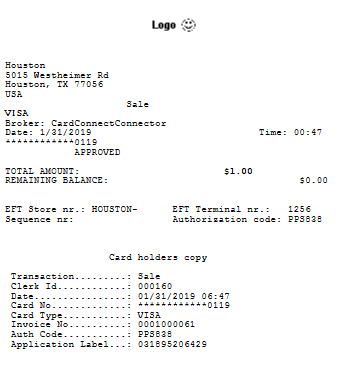
Customer copy
Recommended content
https://docs.microsoft.com/en-us/dynamics365/commerce/receipt-templates-printing
Using the MPG Receipt variables
This article describes how to setup receipts for using the MAX Pay Global receipt fields. This method pre-dates the Microsoft method of adding Payment provider data to the Microsoft receipts.
Creating the Language Text
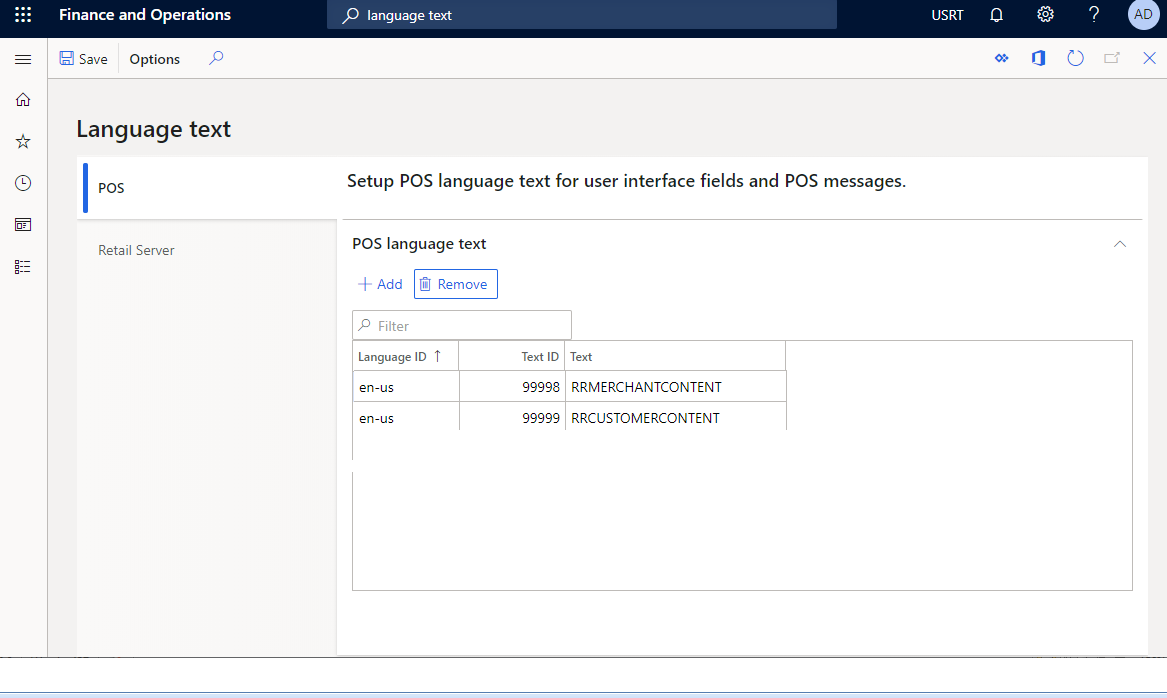
- Go to Retail > Setup > POS > Profiles >Language text.
- Create the Language entries as shown below for RRMERCHANTCONTENT and RRCUSTOMERCONTENT.
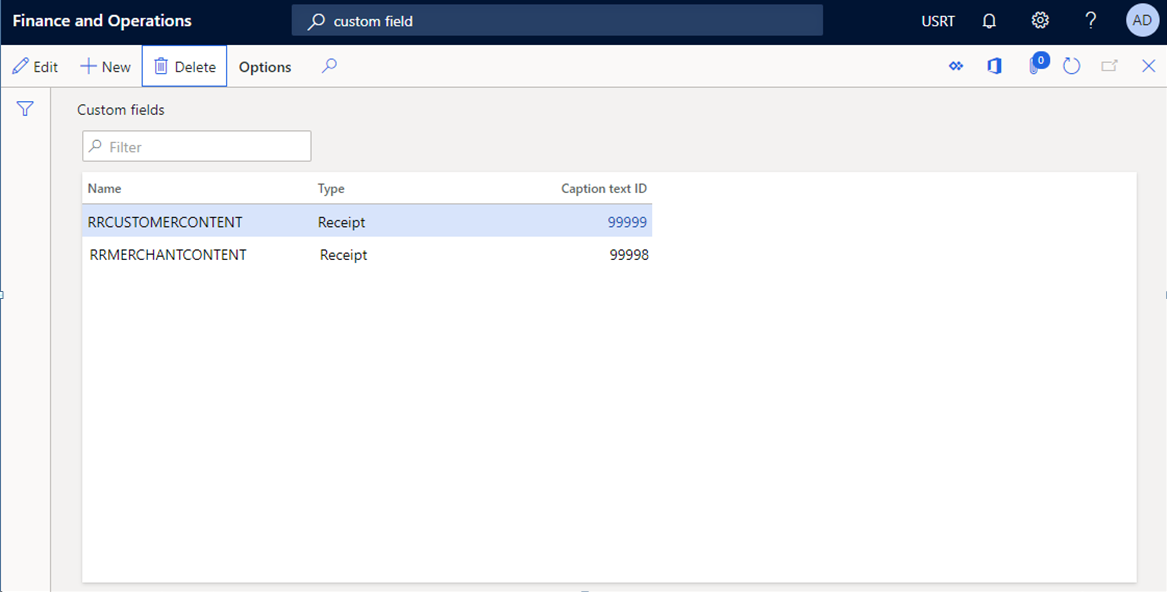
- Go to Retail > Setup > POS > Profiles > Custom fields. Create RRCUSTOMERCONTENT, RRMERCHANTCONTENT, both of type Receipt.
- After the fields are created you can immediately be added to any receipt format.
- Navigate to Retail > Setup > POS > Receipt formats and for your chosen receipt format, select Designer.
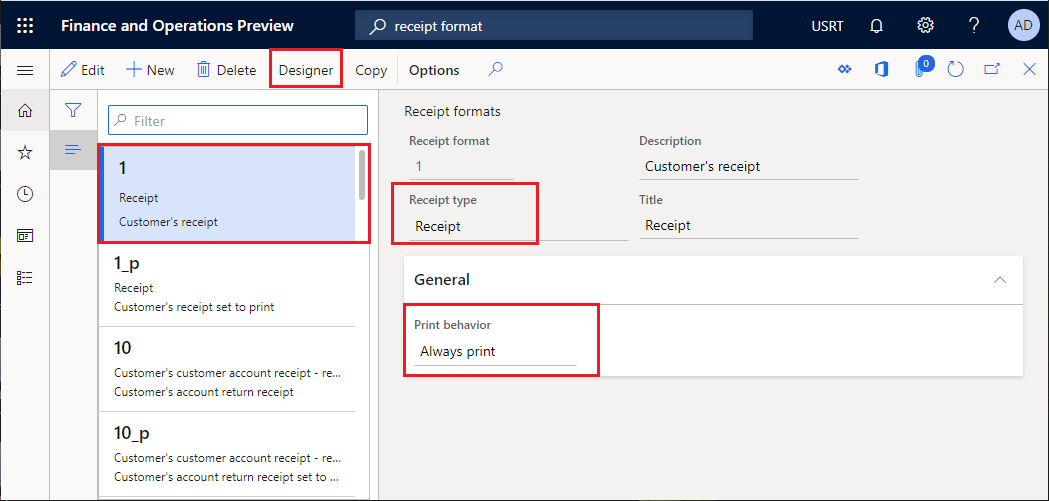
- Ensure the Print behavior is set to Always print.
- Add the fields to the format as shown:
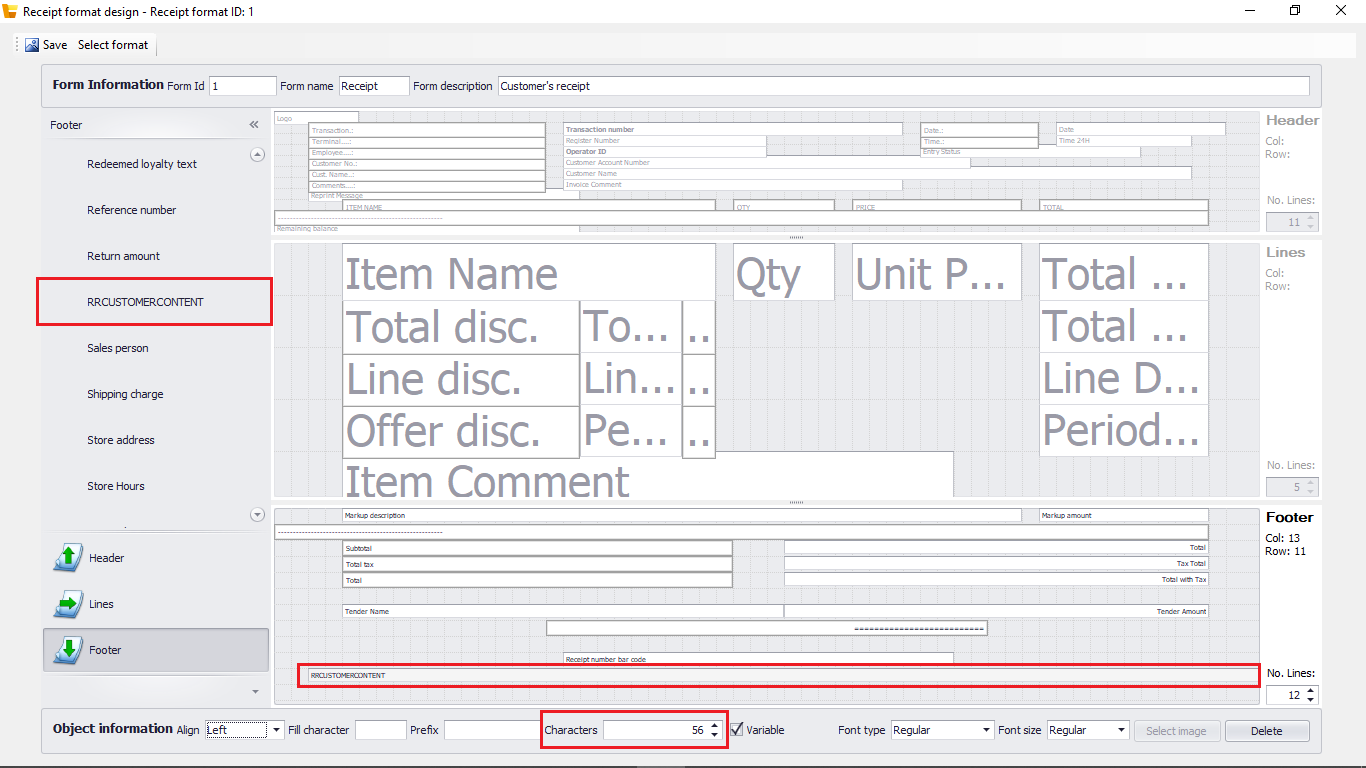
- Drag the RRCUSTOMERCONTENT field into the footer section. Change the Characters to 56.
- Give each a hard-coded text label if required.
- Select the Save button when you are finished.
- Once you have done with these changes run the 1070, 1090 jobs to the respective store(s).
|
🛈 Note If you see variables listed similar to (99999)??Missing String?? – this implies that the RetailLanguageText record was not correctly created. |