Printing labels
This topic highlights how to print product based labels from the MAX Mobile application.
i Important The setting up of Product based labels is carried out in the MAX Essentials application - which is documented elsewhere. This MAX Mobile feature is only supported where MAX Essentials is installed and licensed at Dynamics 365 for Finance and Operations. |
Overview
Depending upon the configuration, Labels can be printed to either a Hardware station in your store, or to a local printer (e.g. via Bluetooth). The MAX Mobile application also features a "Print Queue" - meaning that a number of items can be scanned ready for label printing, and printed all together in one batch.
Printing a label
- Start the MAX Mobile application
- Sign in
- Choose Label printing
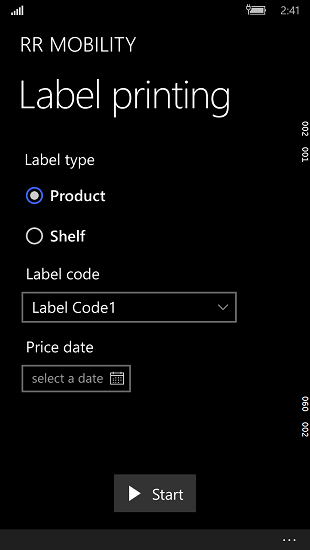
- Choose either Product or Shelf
- Select a Label code from the dropdown list
- Optionally, choose a Price date.
- Click Start
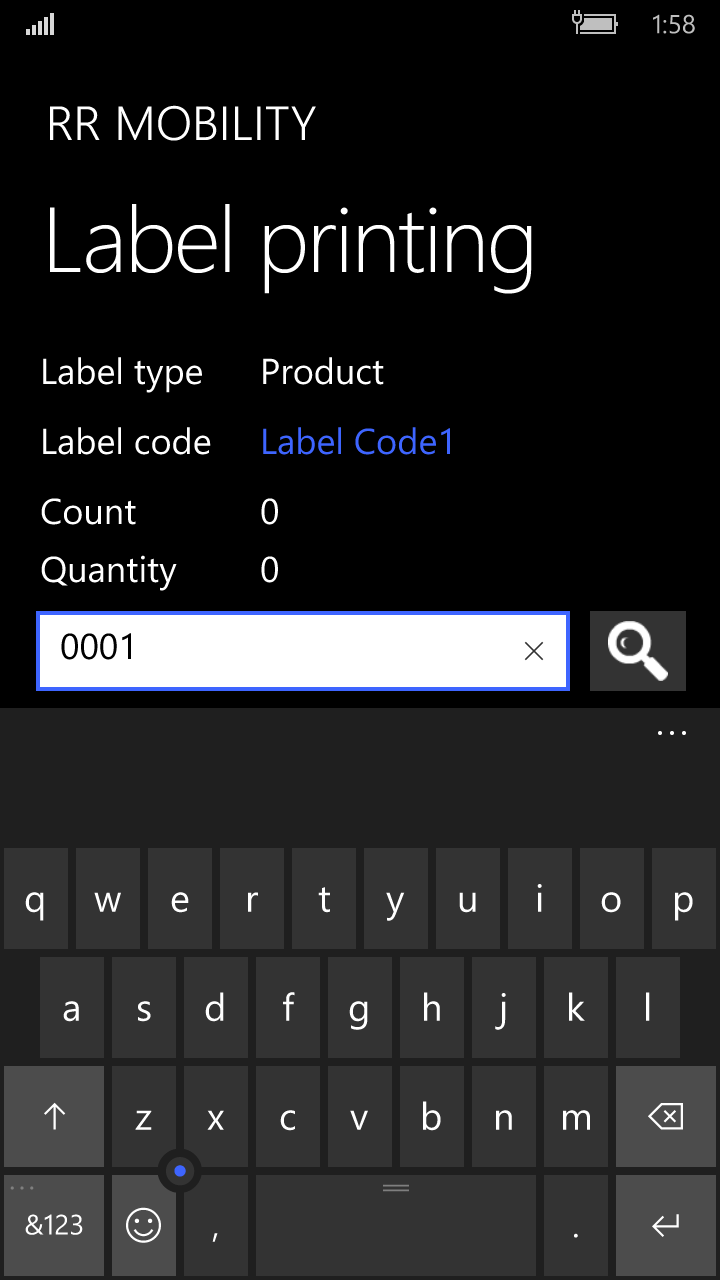
- Scan the item barcode or enter the Product ID
- Enter the Quantity of labels to print for this item

- Click the Quantity field to print more or less labels
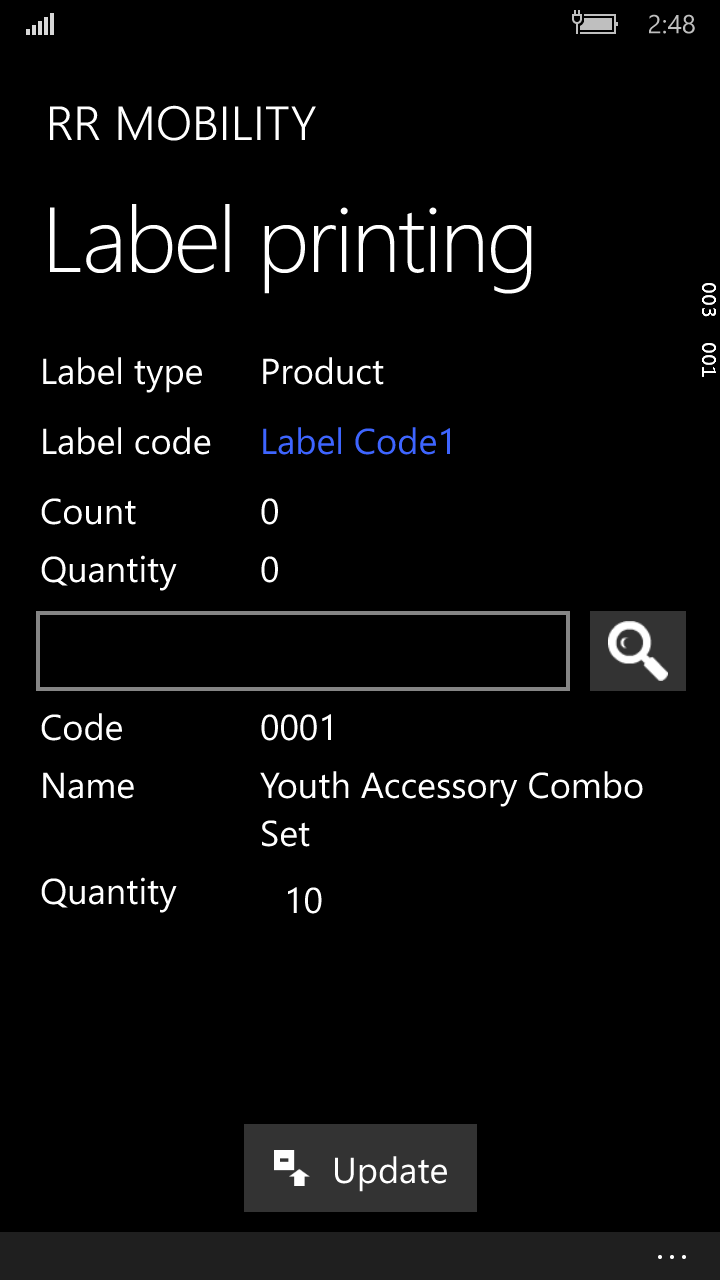
- Click Update
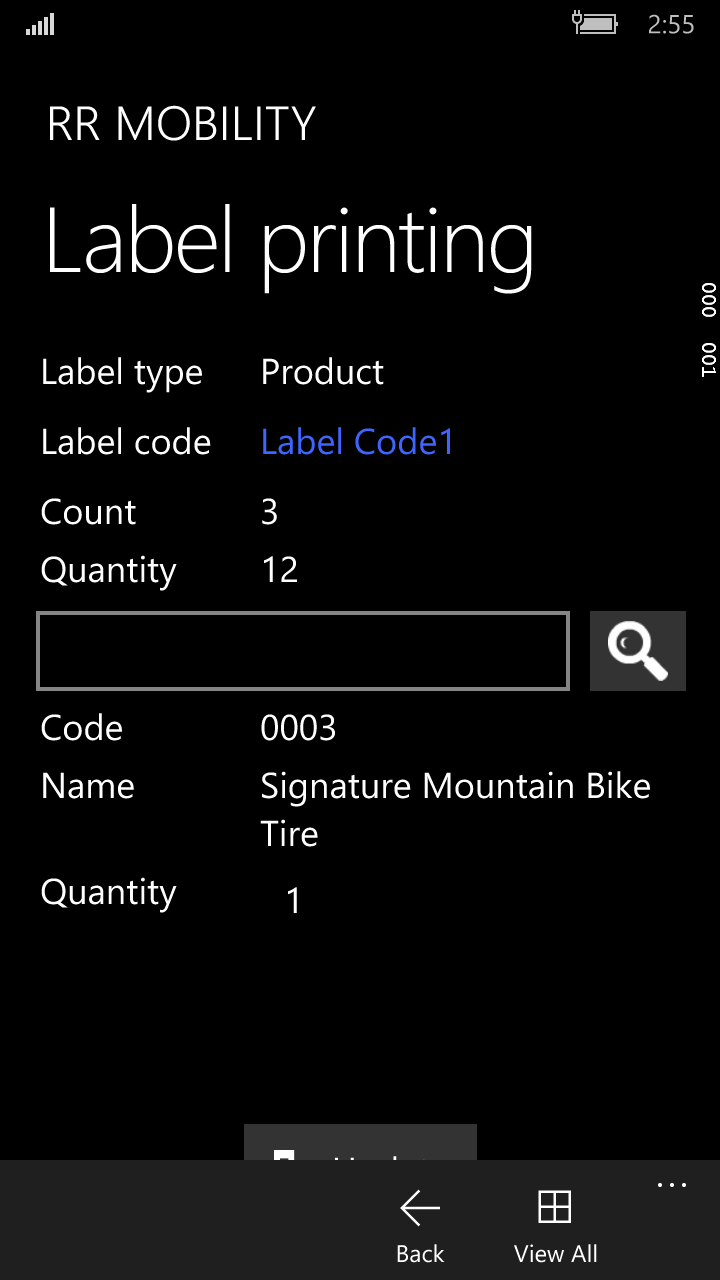
- The Count field displays the total number of items to print labels for. The Quantity field displays the total number of label pieces across all items.
- Clicking View All will display the Label Queue
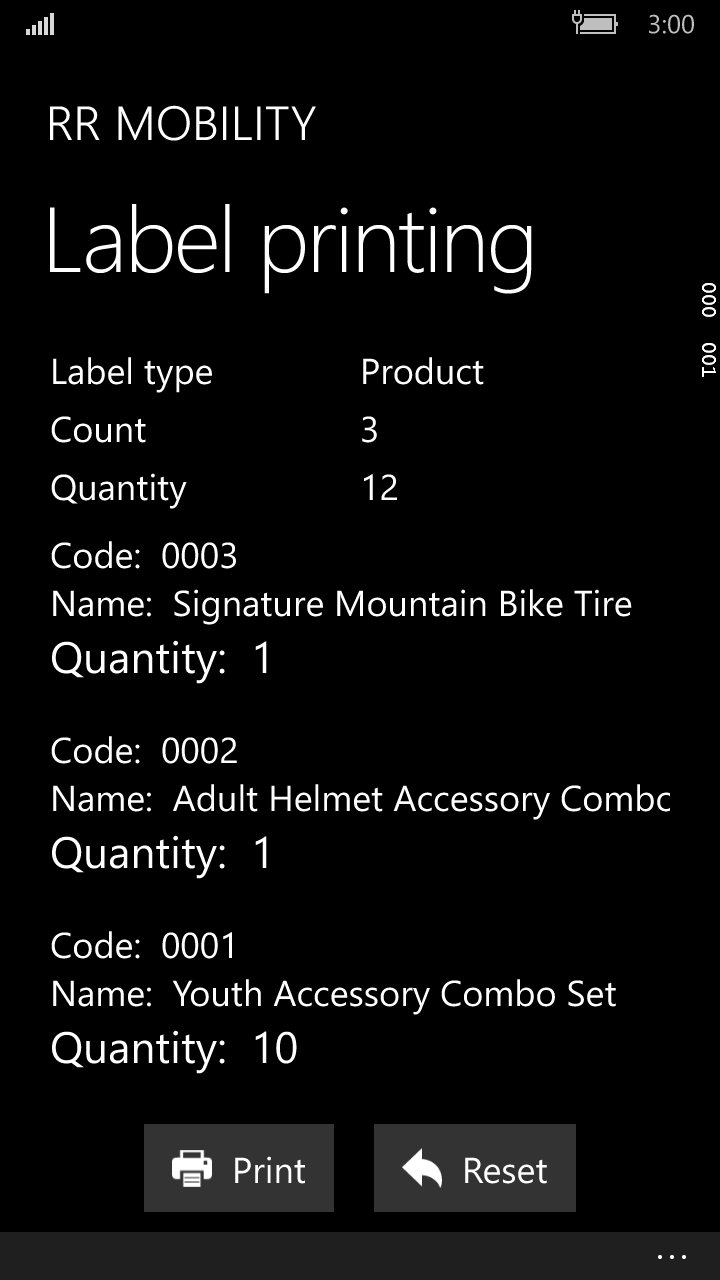
- Click Print to print the entire Queue
- You will receive the following message:
Managing the Print queue
If you have scanned more than one item to print labels for, these will be held in a Queue inside the MAX Mobile application. Before printing all labels, you can edit this queue to make any final adjustments.
Example:
This shows a Queue of three items.
Field/Button Name |
Description |
Starts Printing labels for of all listed items and their quantities |
|
Reset |
This will clear the print queue so you can start again |
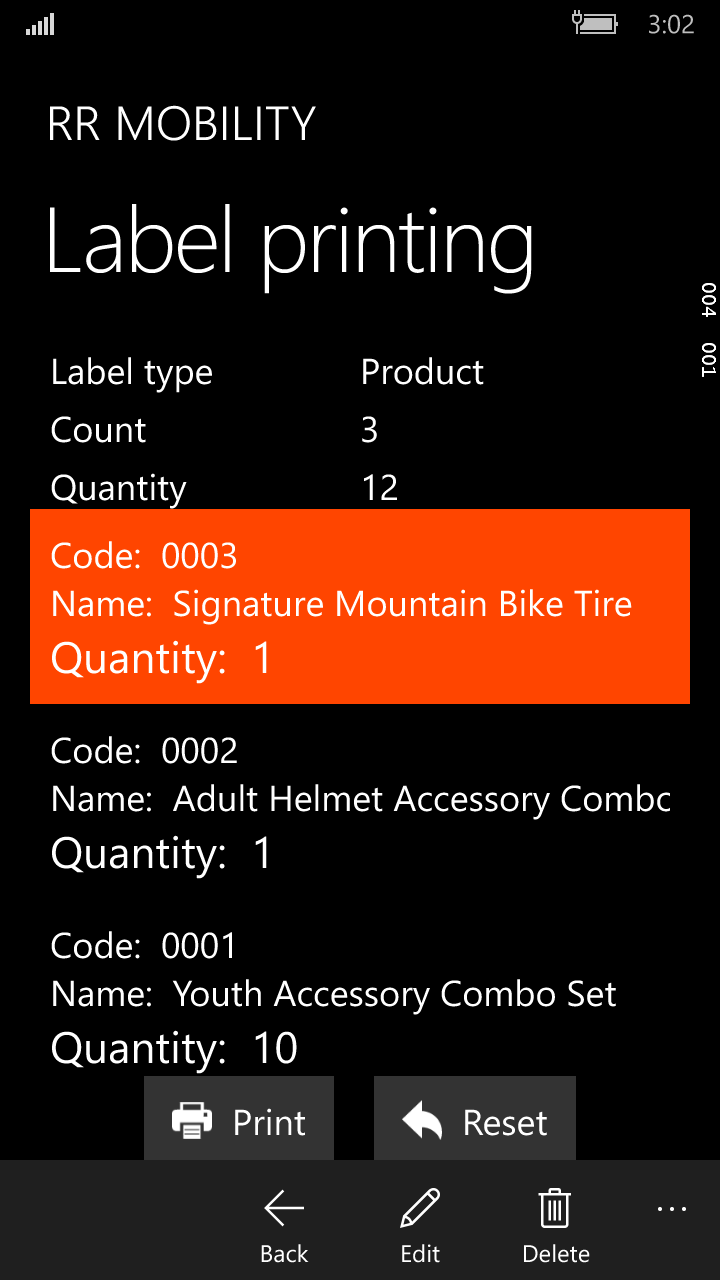
Edit |
Select an item (as shown in above) and click Edit to change the quantity of labels to print |
Delete |
Delete the selected item from the Print queue |
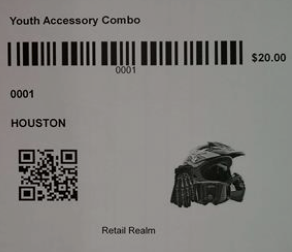
Example Label
The following is an example Product label: