Placing items on Fire Sale
This topic shows you how to place items on FireSale
Overview
You will select a FireSale Reason, scan an item and print one or more labels using a local Printer. These labels will replace the original store product label for the given items.
Printing a FireSale label
- Start the MAX Mobile application
- Sign in
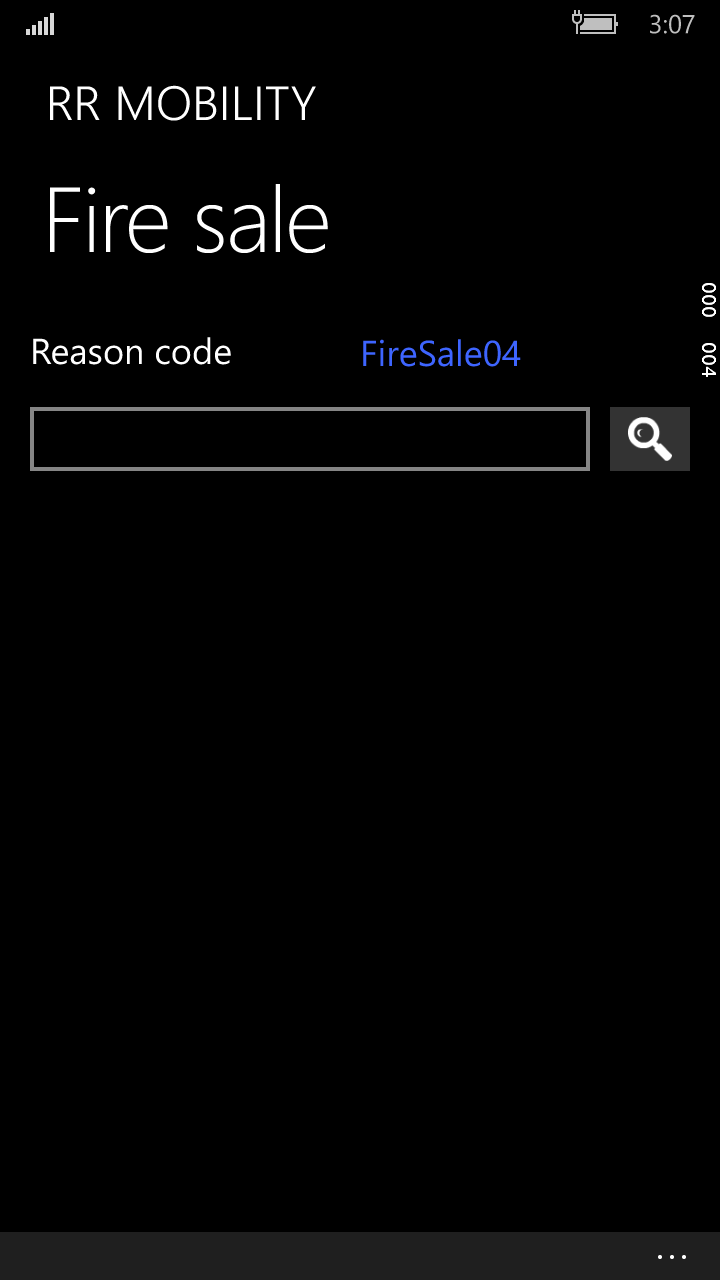
- Click on Fire sale
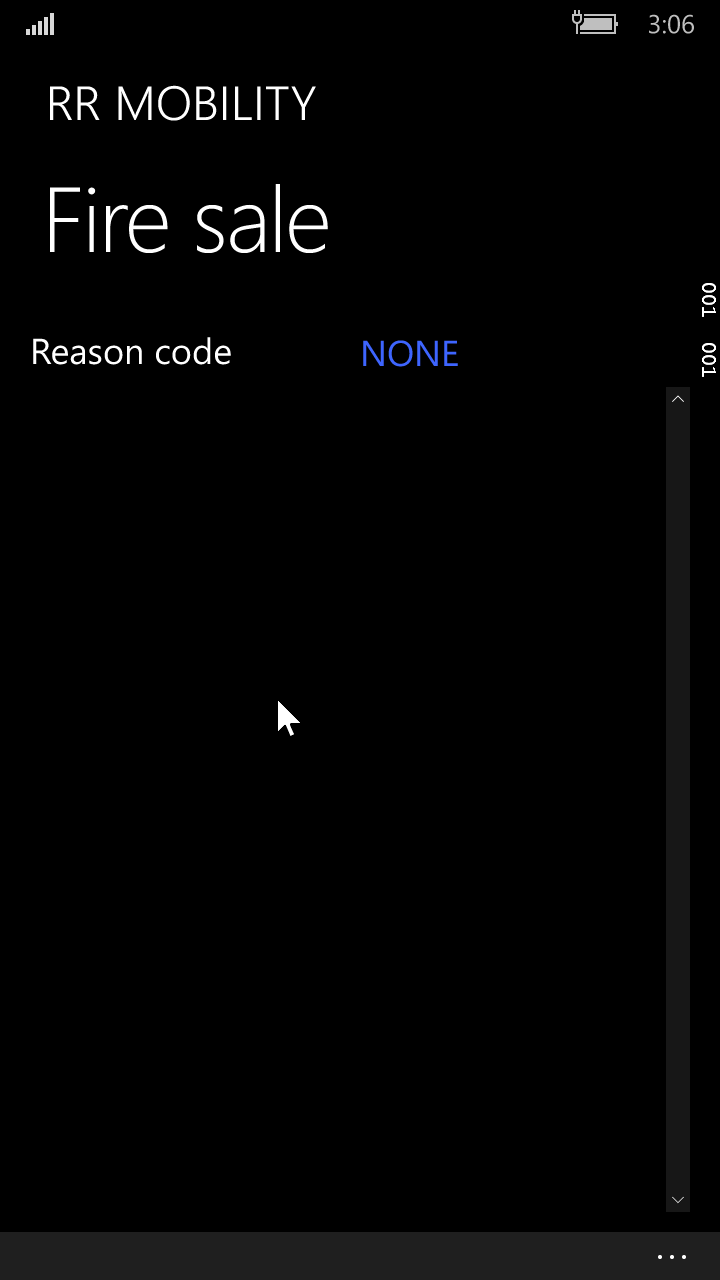
- Click Reason Code
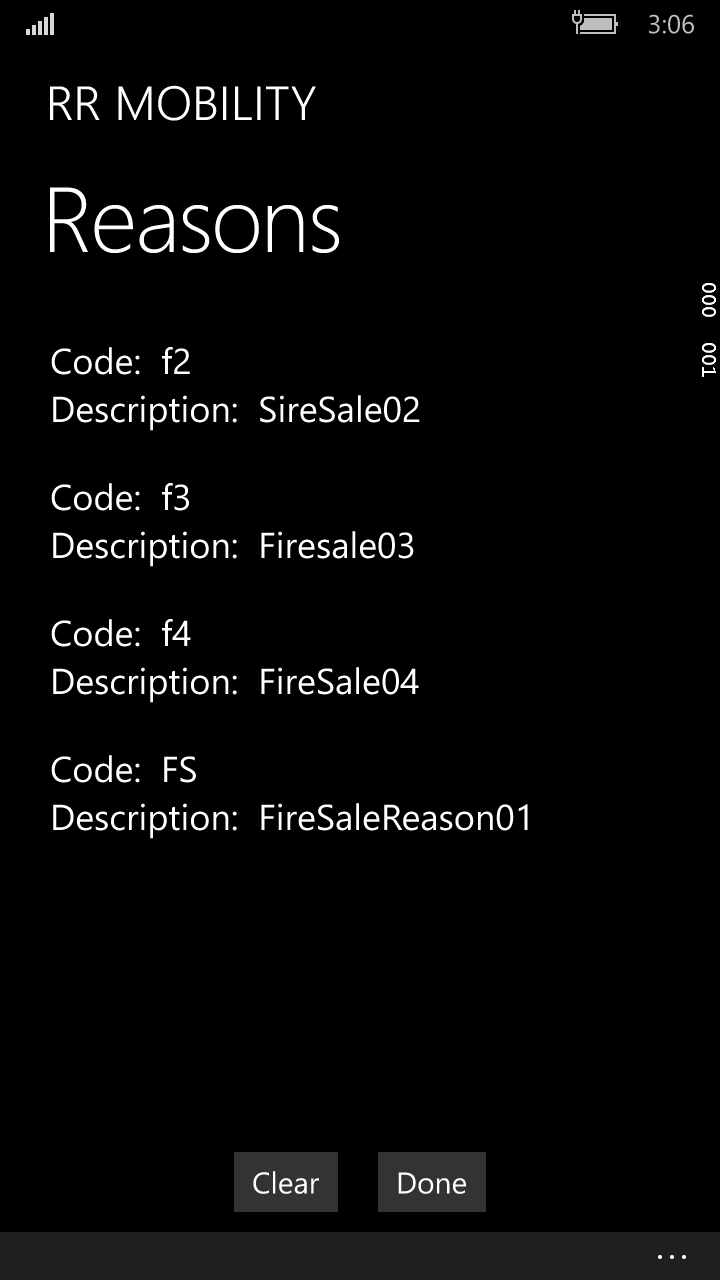
- Select a Reason
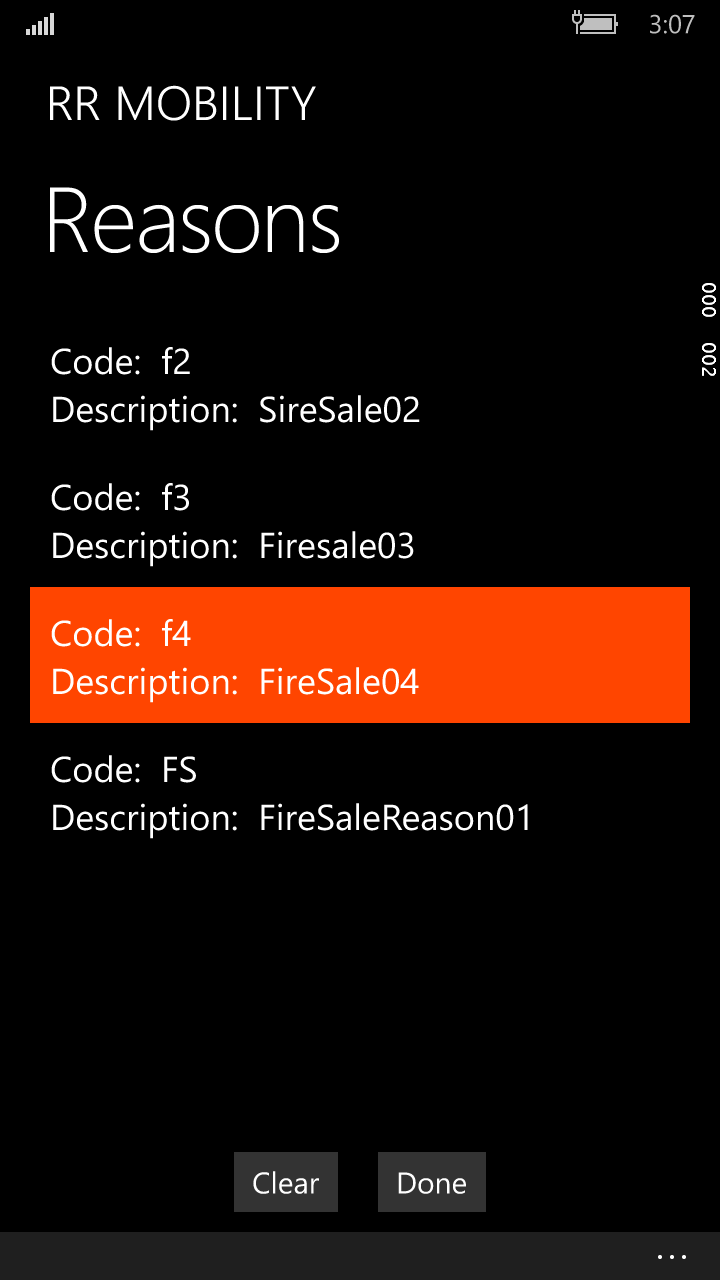
- Clicking Clear clears your selection. When you are ready, click Done.
- Next Scan an item. You can enter the original product barcode into the text box, using the on screen keyboard, or if the Scan button is enabled (configurable), then press the Scan button to invoke the bar code scanner to scan the barcode.
- Once you have scanned the item, and it has been found, you will see the item properties as shown below:
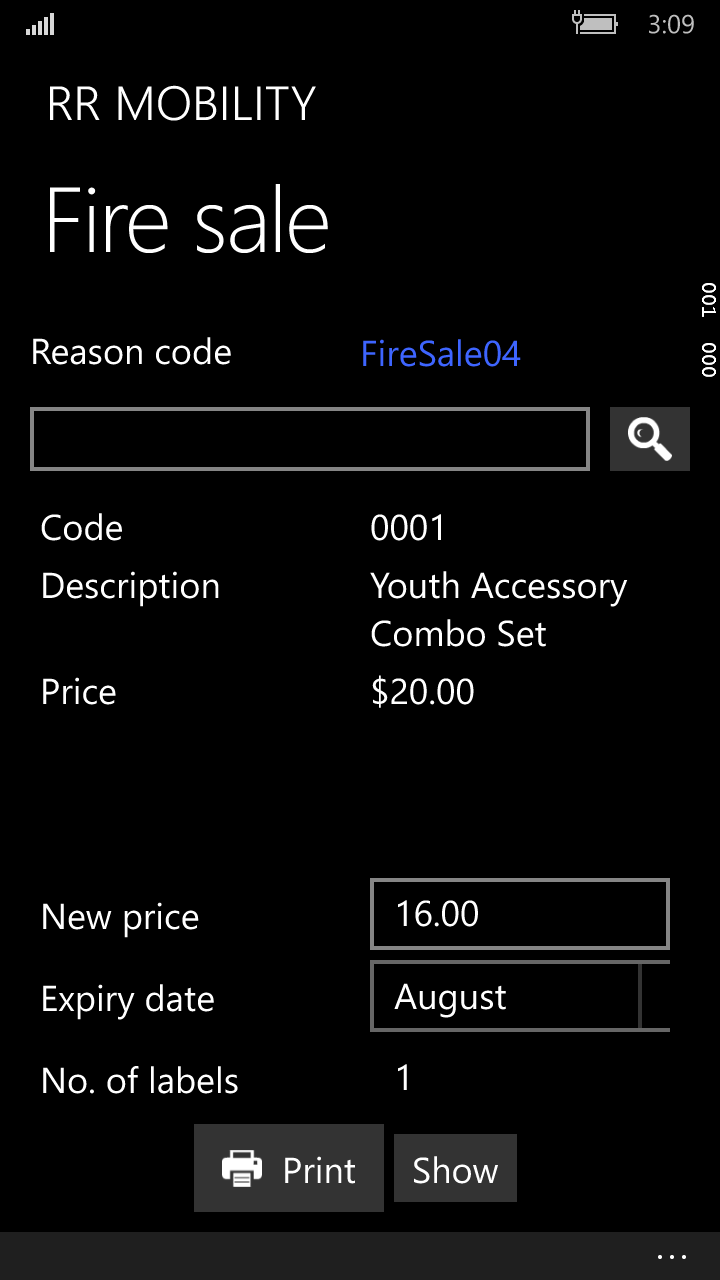
- Click Print to print a label. Before printing you can also:
- View the original and new price - ensure it is discounted correctly
- Change how many labels to print - click the No. of labels field
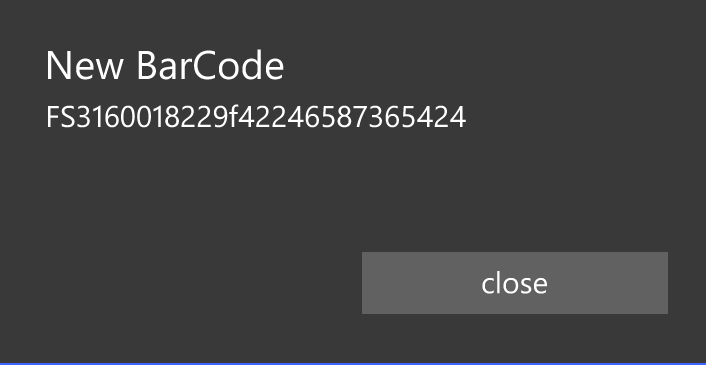
- Preview the barcode before it is printed by clicking Show, for example:
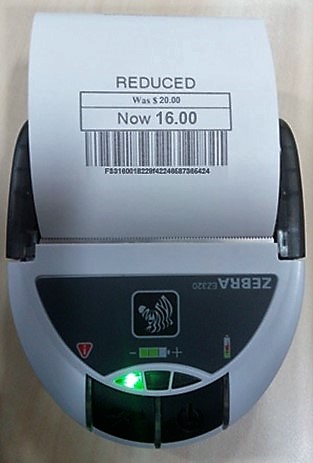
Example FireSale Label
The image below shows a typical price reduction label printed using MAX Mobile FireSale:
Checking the price of a FireSale label
To validate a label, you can use the MAX Mobile Price check feature to check the price. This is useful in order to audit items that have been previously placed on FireSale around the store.
- Start MAX Mobile
- Sign in
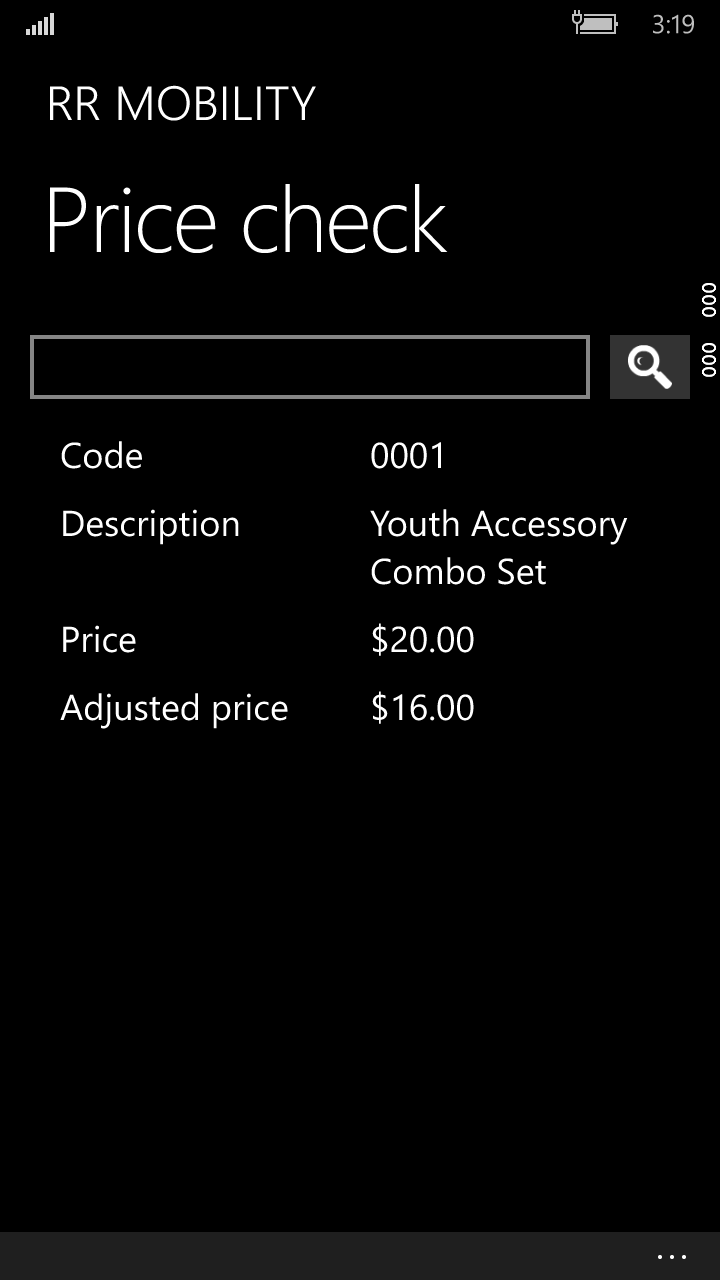
- Select Price check
- Scan the FireSale label
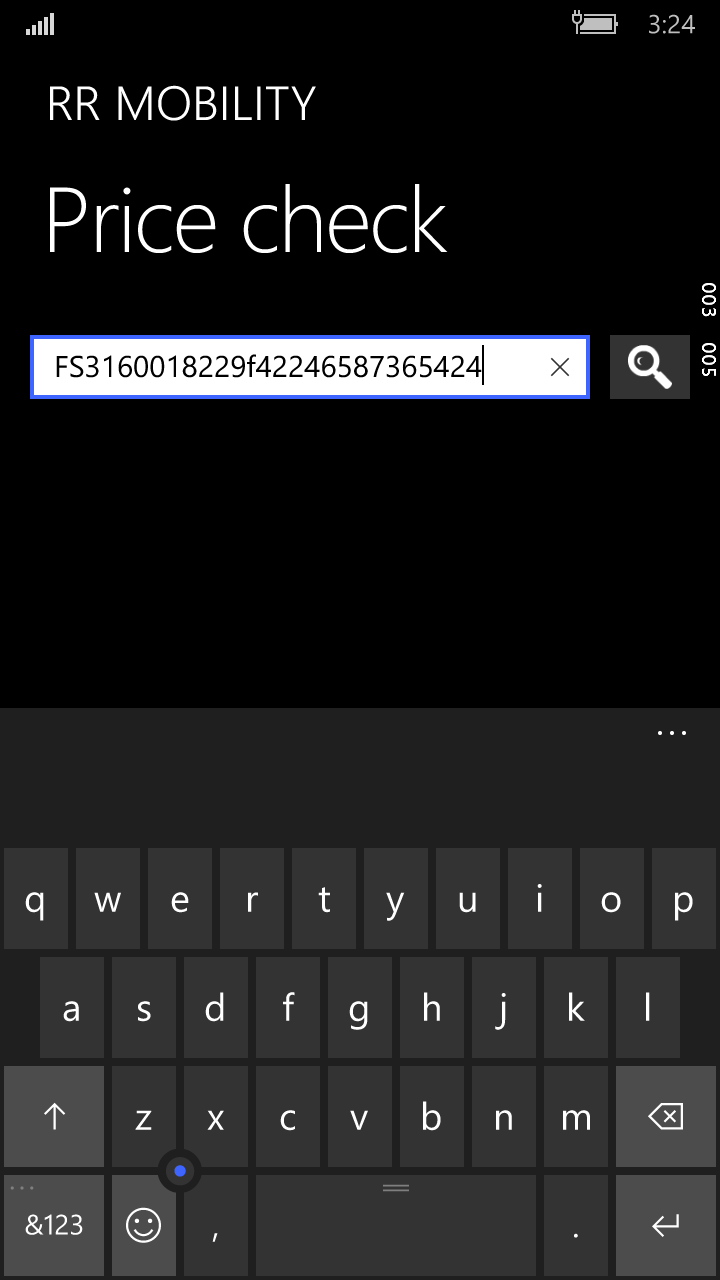
- The original (Price) and FireSale (Adjusted) price will be displayed: