Setting up an Azure notification service
|
🛈 Important This topic applies only to certain payment connectors. Not all MAX Pay Global payment connectors support this feature. Check with the relevant Implemention guide for your connector. |
Many of the Payment providers that MAX Pay Global supports, deliver information back to dynamics by means of Notifications, or "webhooks". These by nature are Asychronous, and Dynamics 365 Commerce and Finance and operations does not provide native support for this functionality.
This topic will guide you deploying an Azure service to host the MAX Pay Global notification server. Only one service will be required for both test and production. You will require an Azure subscription and permissions to create and administer this task.
Implementation steps
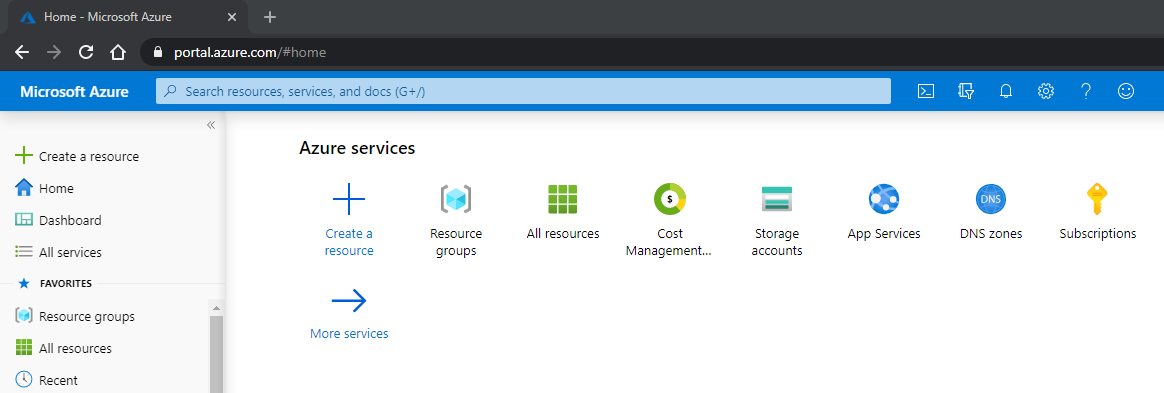
- Login to Azure portal https://portal.azure.com. Ensure you have access to Azure services as shown below:
- Select Create a resource option from Azure Services:
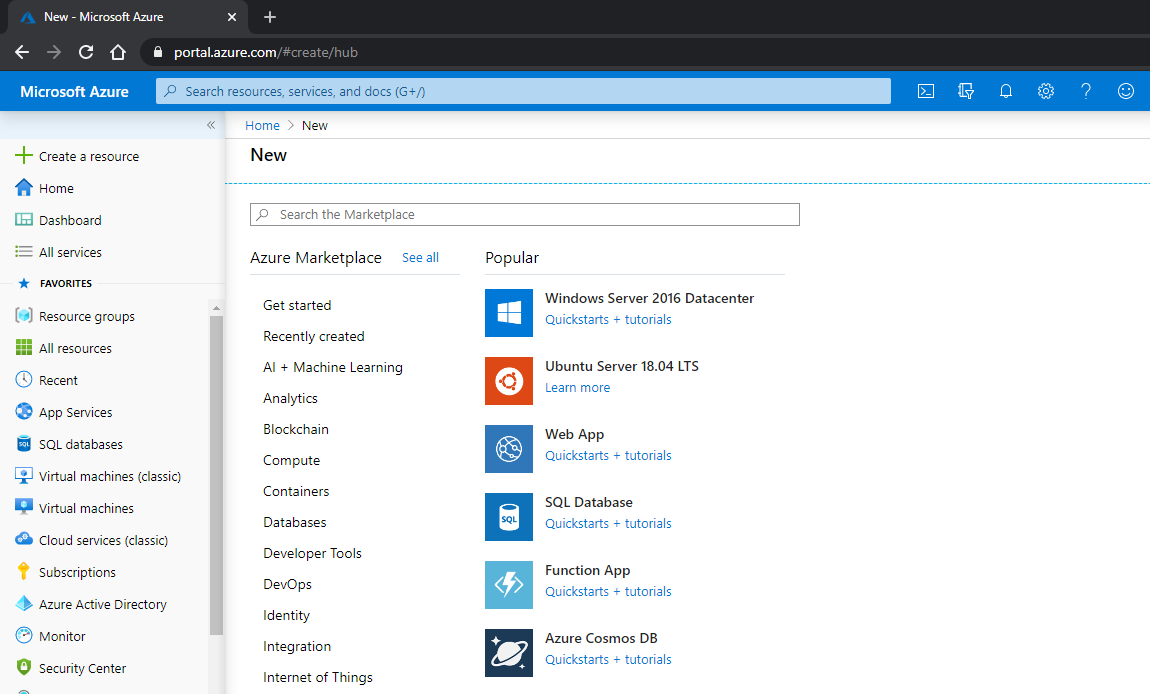
- Select Web App to create a new Web app:
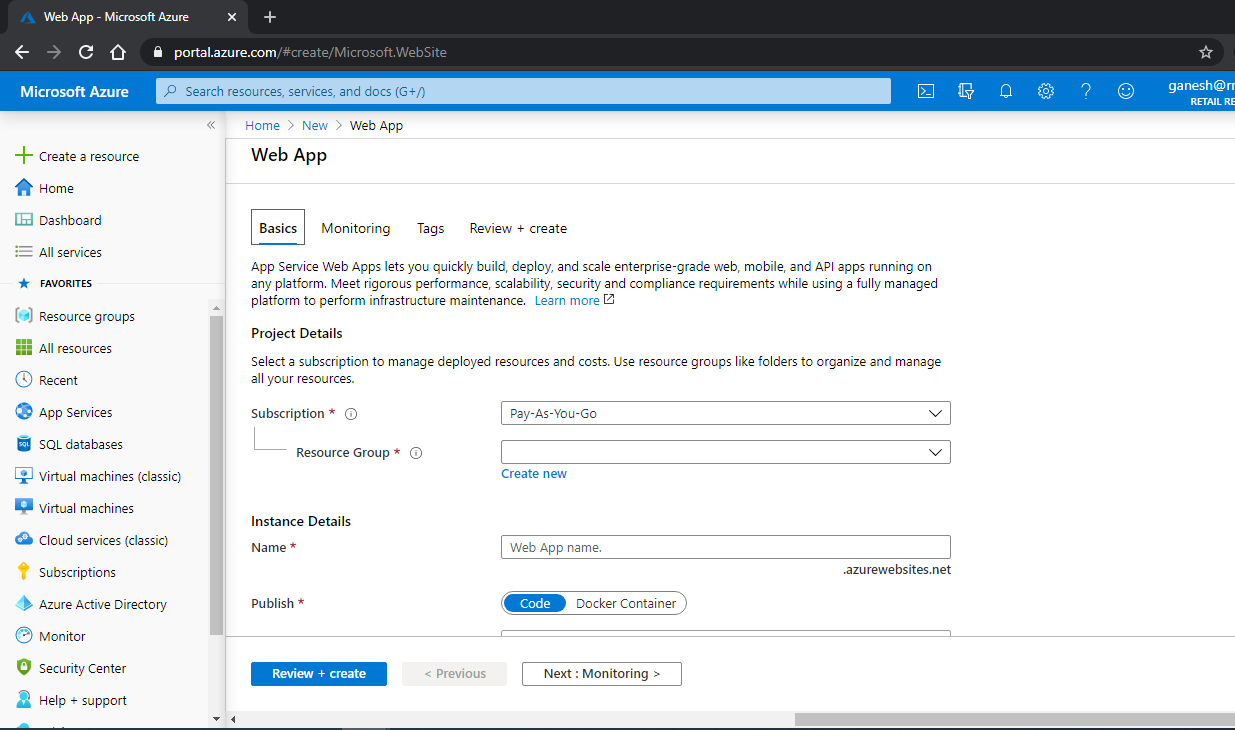
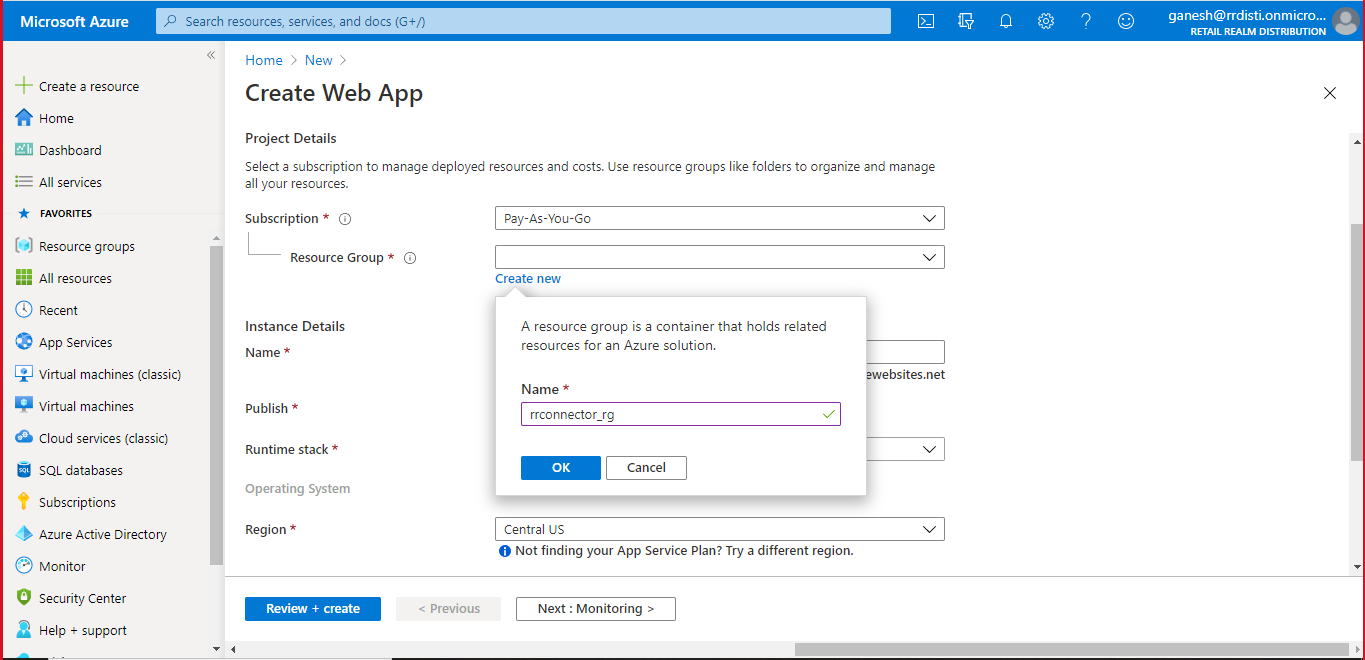
- Select Create New to create a new resource group:
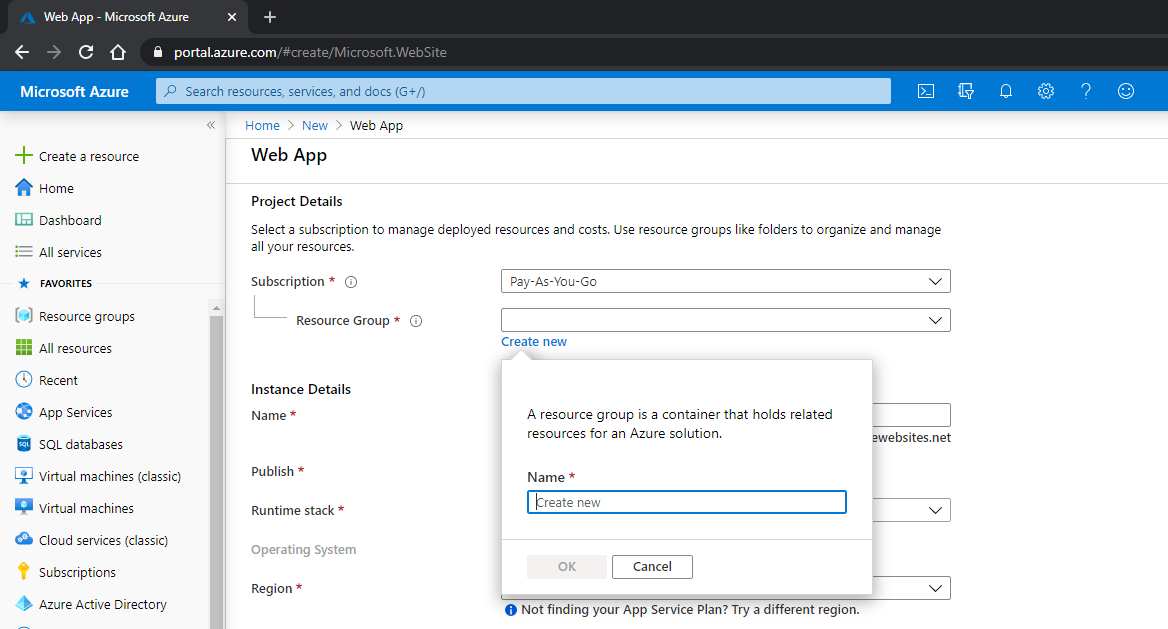
- Add a suitable name for resource group
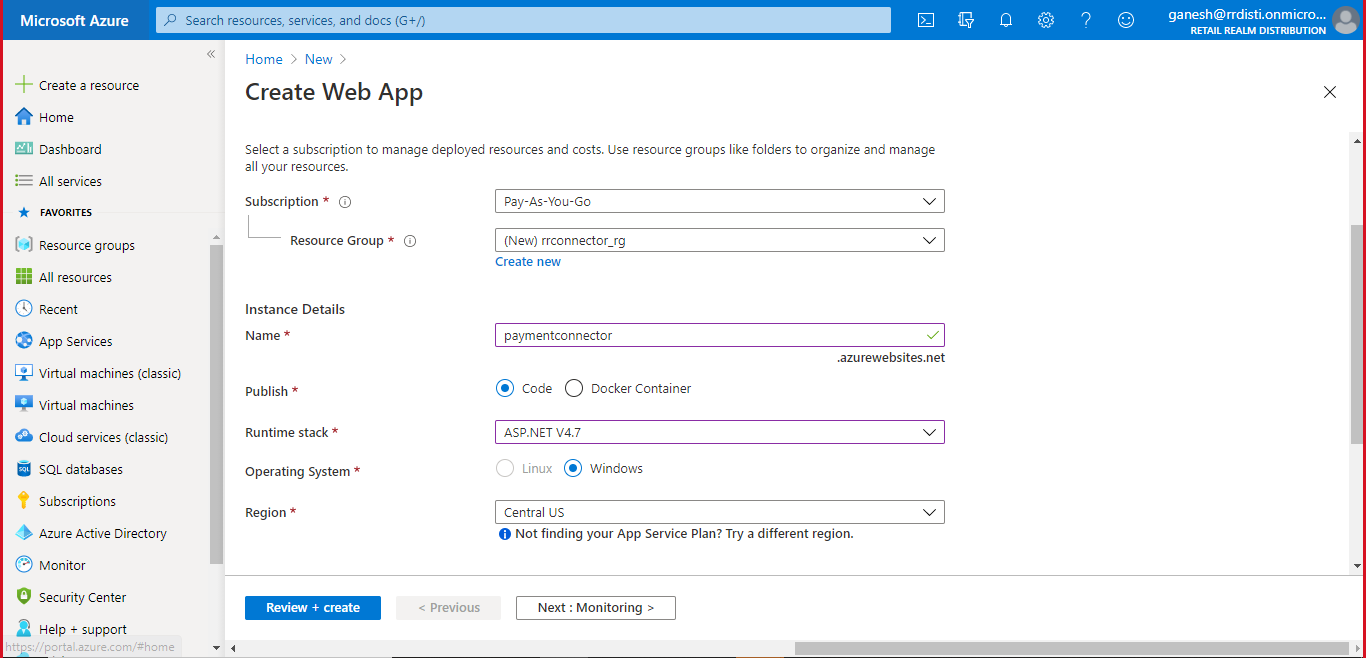
- Select suitable Name for your web app. This will form the prefix to your site’s domain name.
e.g.:
https://rrconnector_rg.azurewebsites.net - Select Code for Publish
- Select ASP.NET V4.7 for Runtime stack
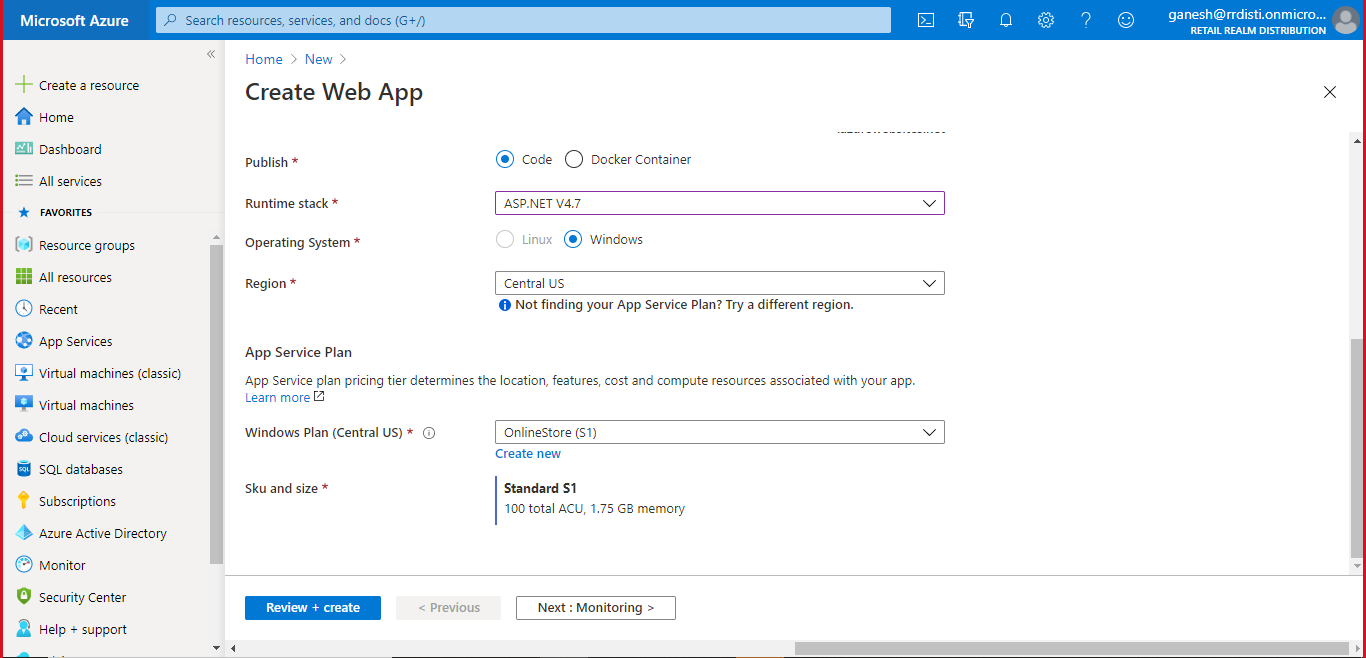
- Select suitable Region. Here we have selected Central US. Refer below screenshot.
- Scroll down and check all other fields are correctly completed. Refer to the screenshot below:
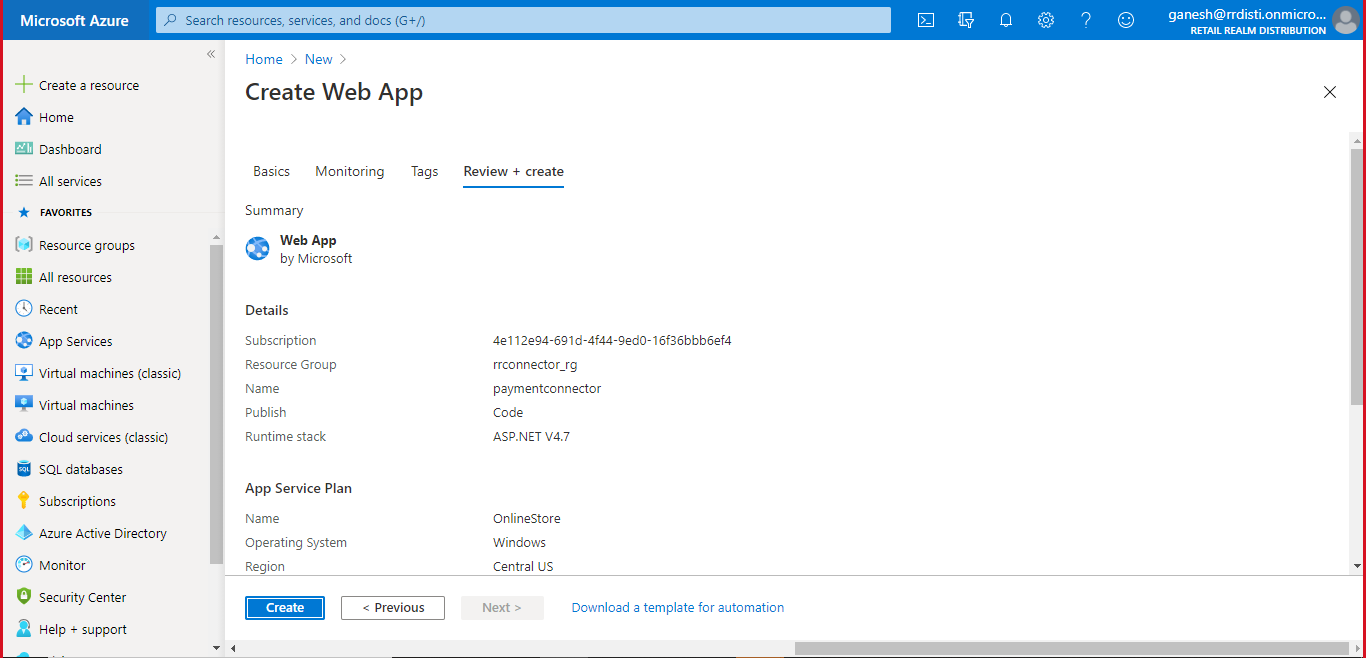
- Select Review+create.
- Review the settings and select Create to create your web app:
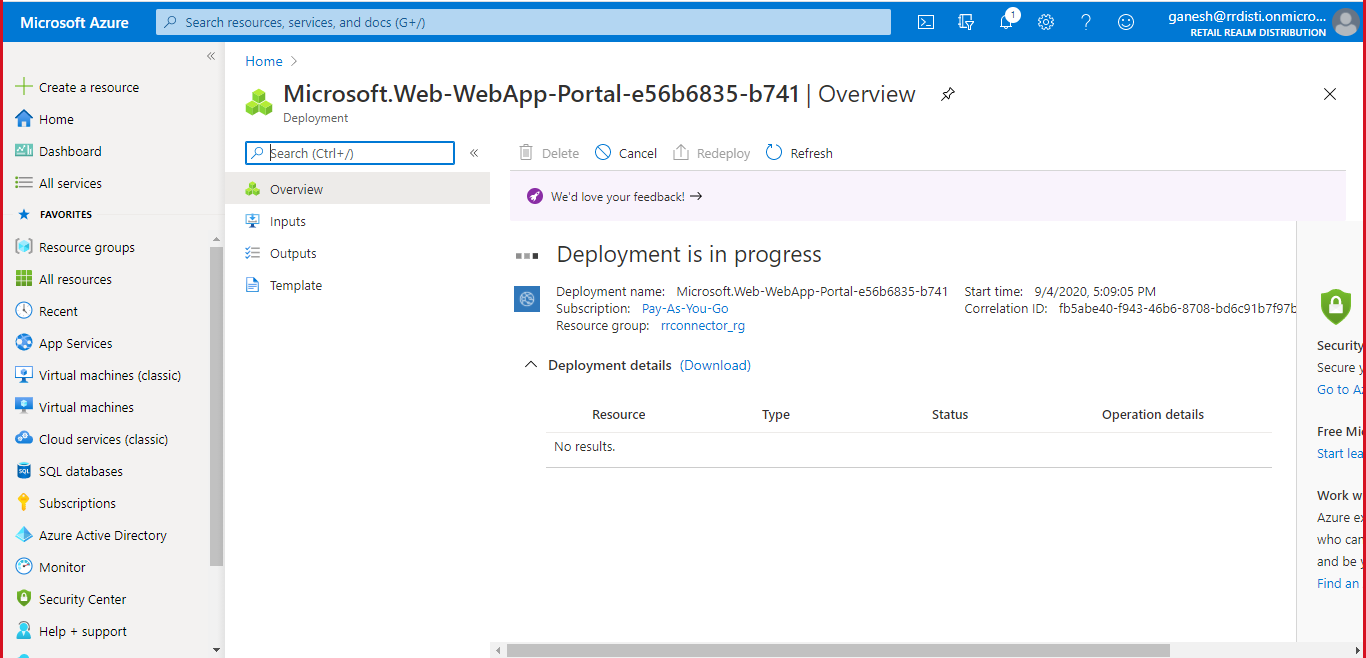
- The next stage is to wait for the deployment to be completed.
- When the deployment is complete, you will see the success message:
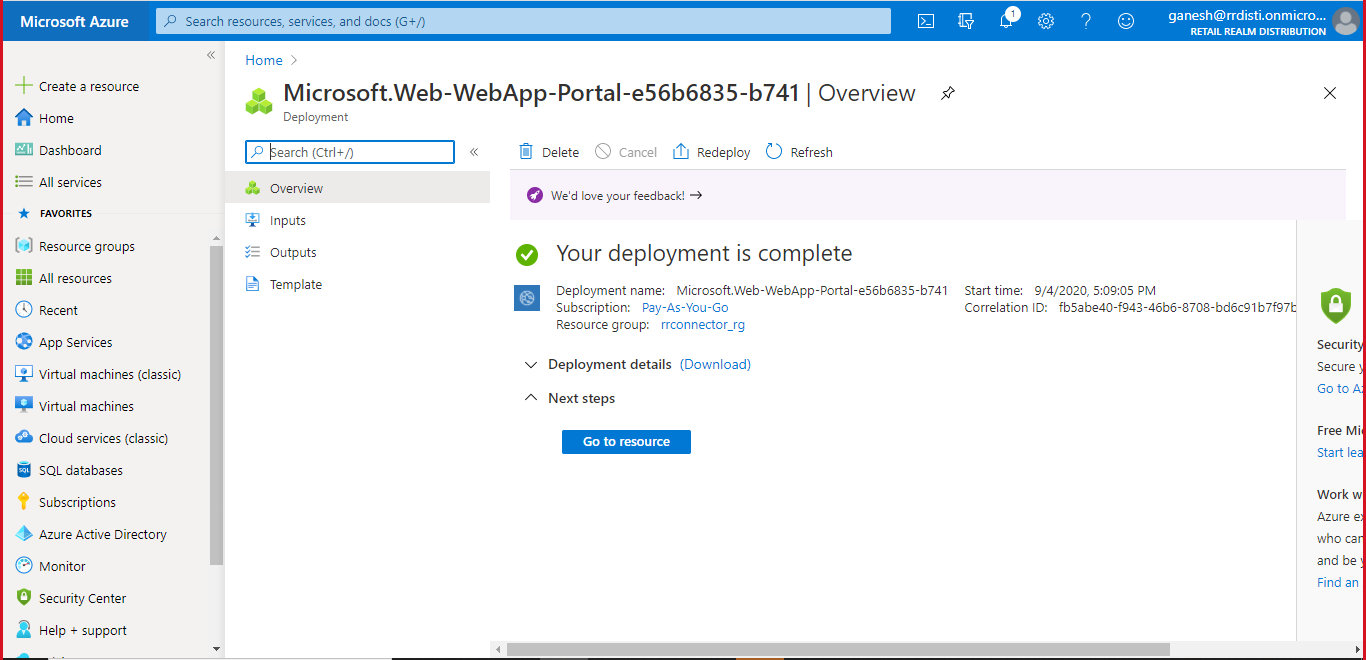
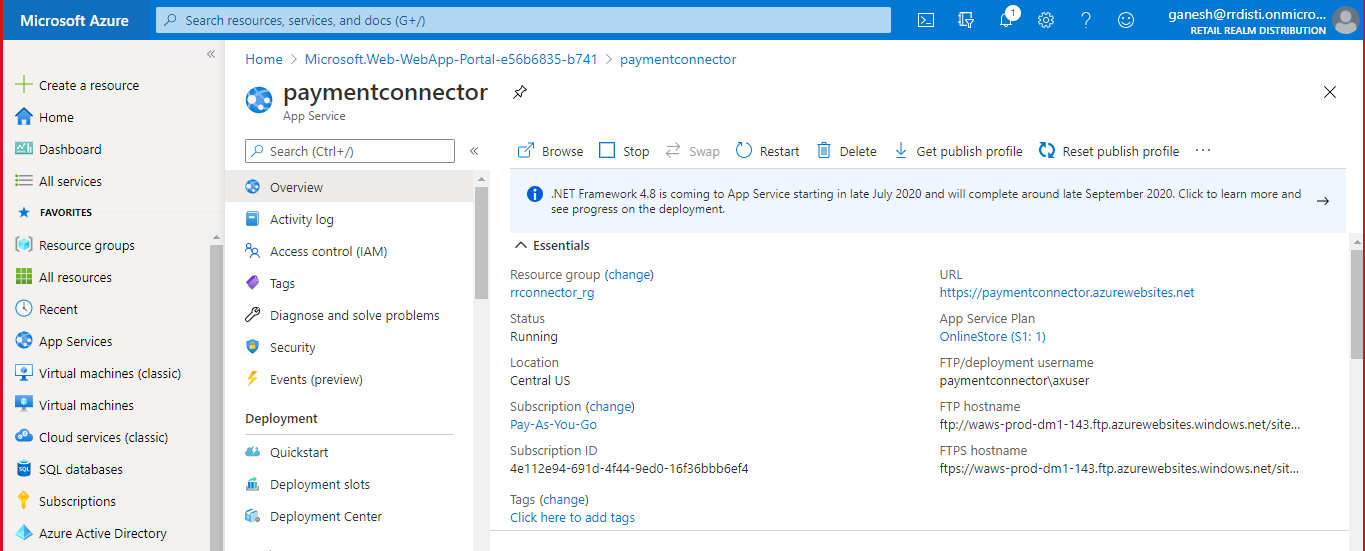
- Select Go to Resource. below is the Overview screen of your Azure web app.
You can see the URL for your web app below. E.g. https://paymentconnector.azurewebsites.net
Make a note of this URL as you will need to enter it within Dynamics 365.
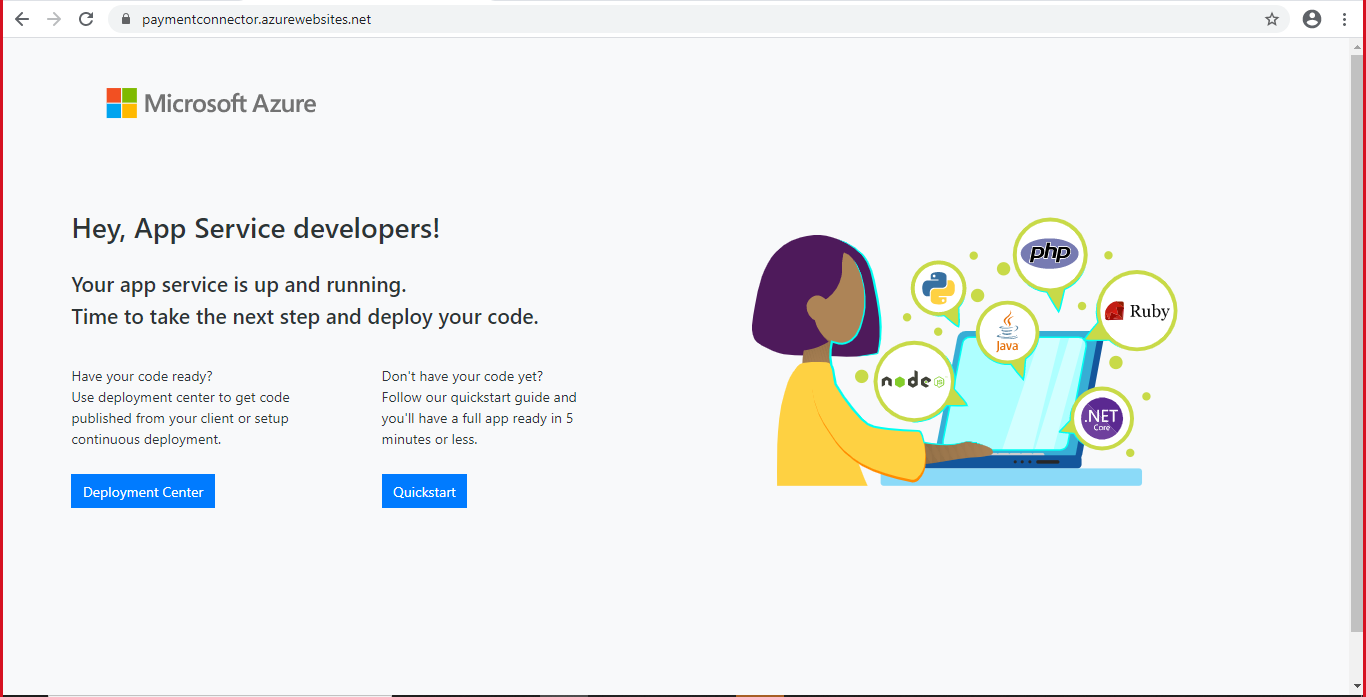
- Try accessing your web app in browser. You should see the below screen as it does not have any other screens right now.
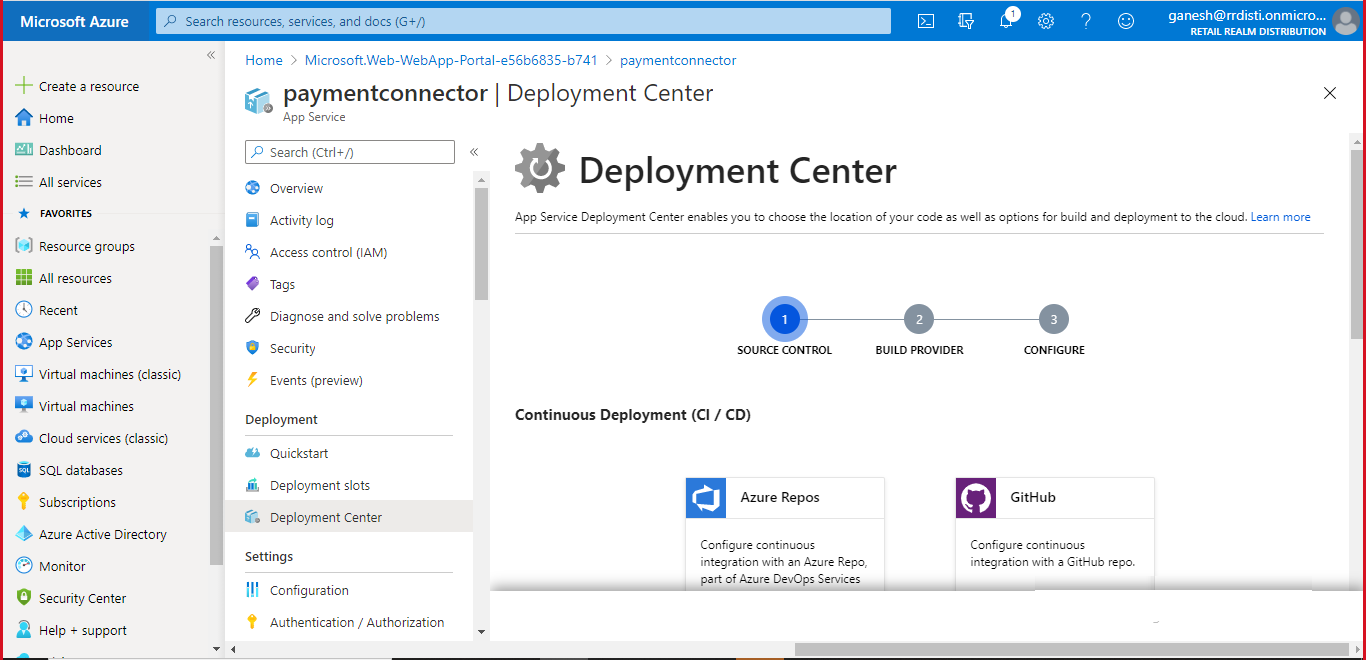
- On Azure Portal, go to Deployment Center in Deployment section. Refer below screenshot.
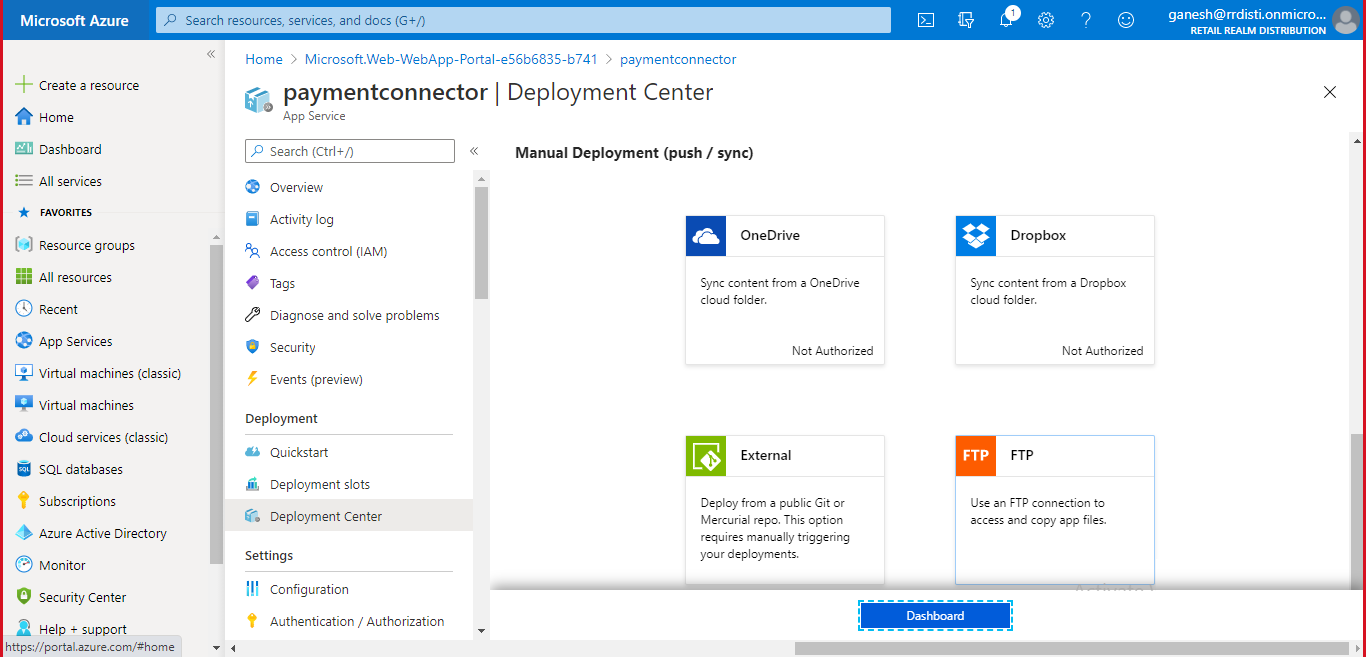
- Scroll down to find FTP option on Deployment center screen.
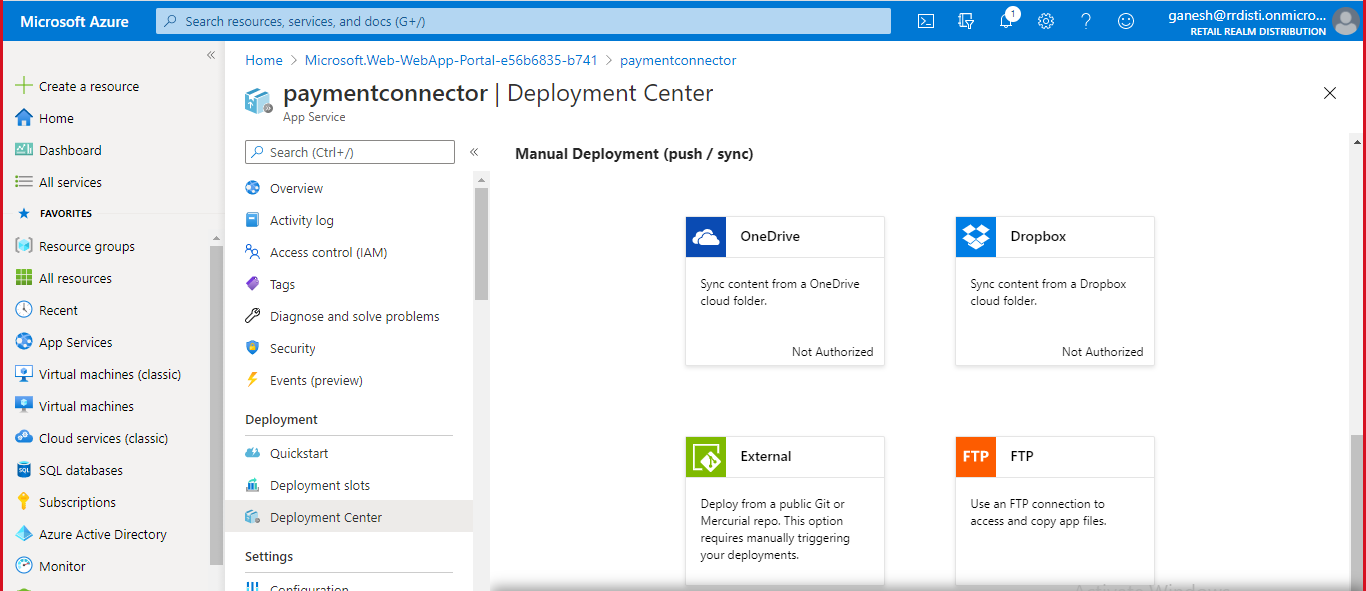
- Select FTP option and click on Dashboard button to see your FTP dashboard.
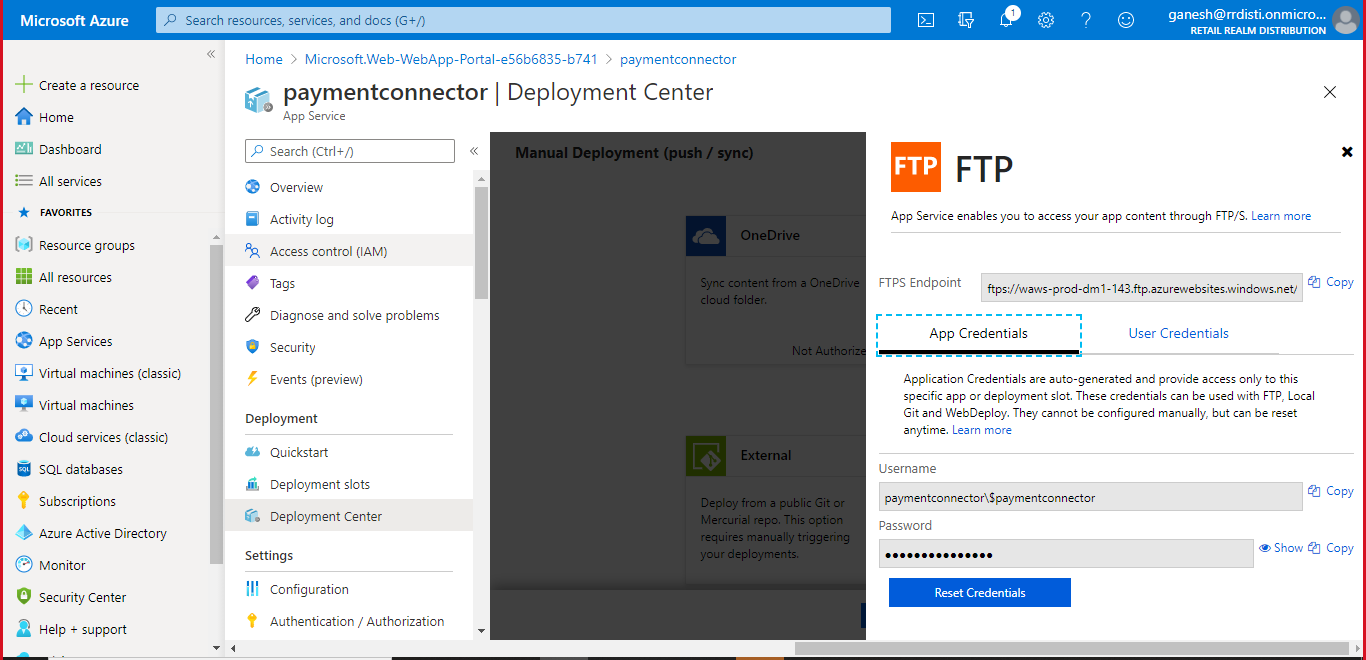
- On the FTP Dashboard, FTPS Endpoint is the url we will be using to connect to our site using FTP:
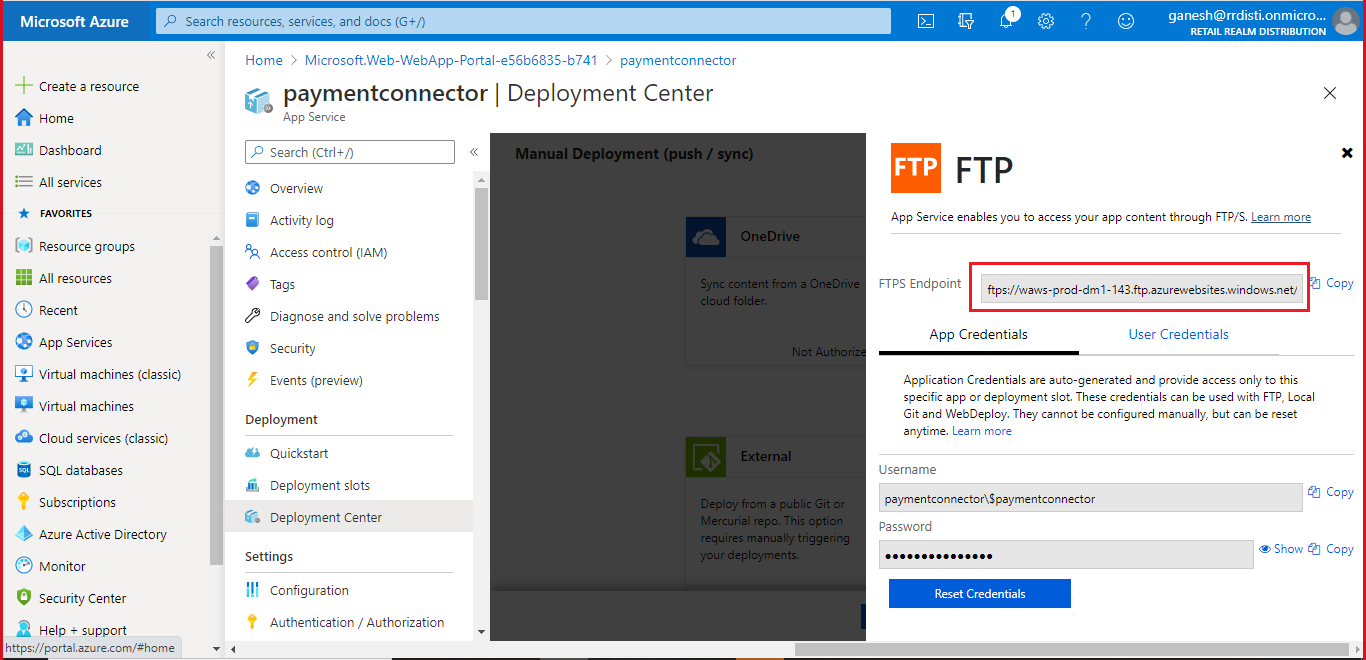
- From App Credentials tab, you can obtain the credentials to access the FTP site:
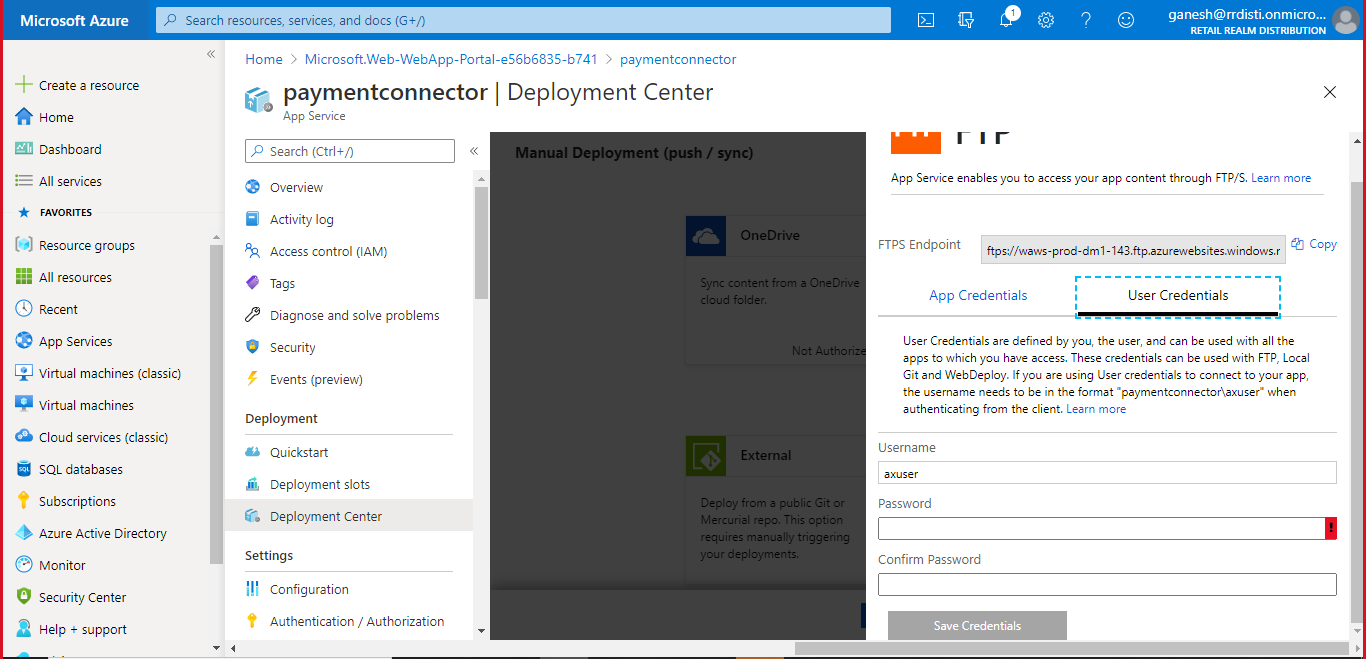
- You can also use the User Credentials tab to set your own credentials.
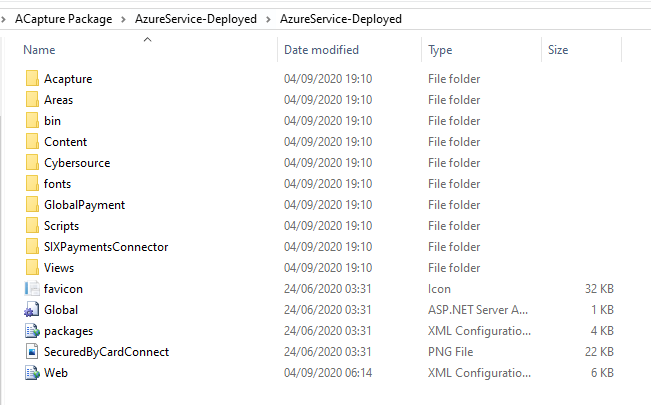
- Extract the AzureService-Deployed.zip file provided to you by Retail Realm in a suitable folder on your local disk, e.g.:
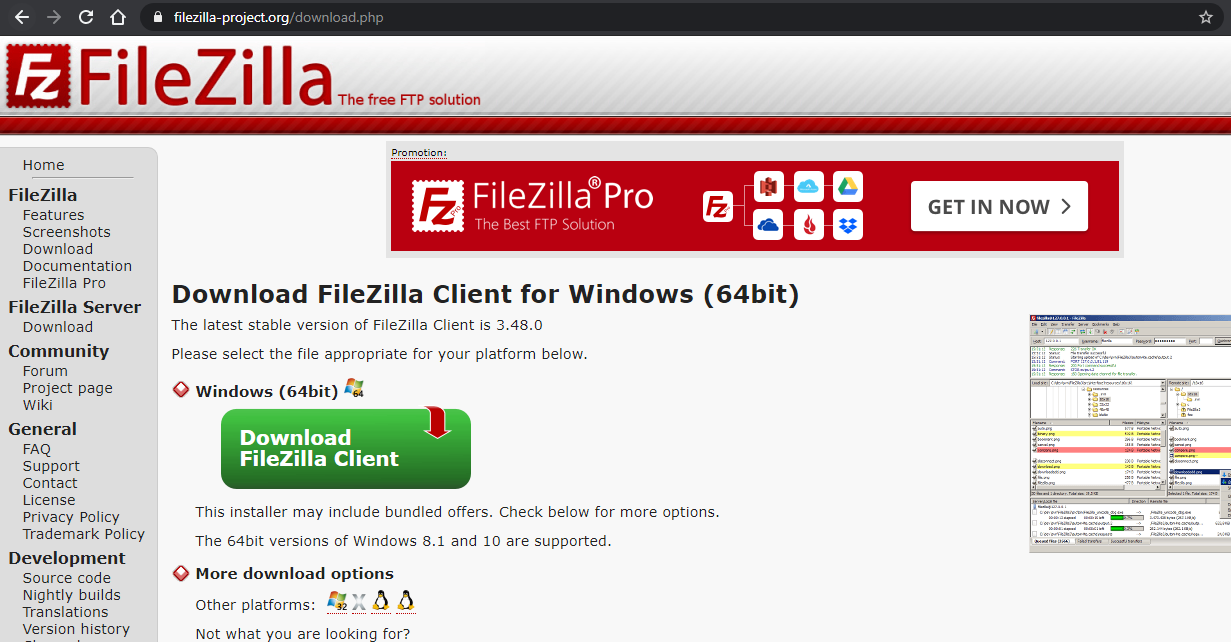
- Download and install the FTP client of your choice.
FileZilla Client is available from https://filezilla-project.org/download.php
- In FileZilla, Enter your FTPS Endpoint url in the Host field.
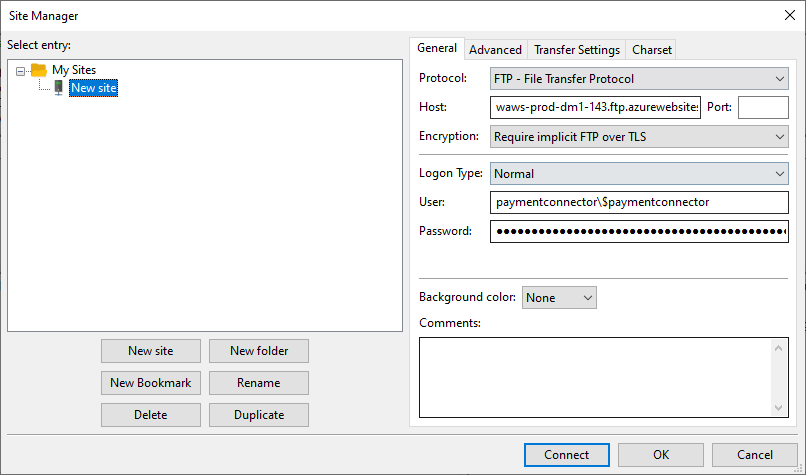
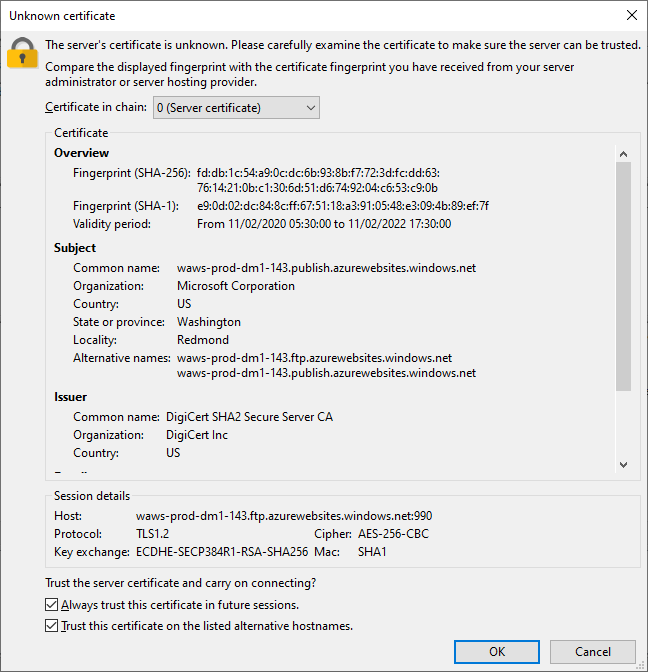
- Select OK to trust certificates (if displayed) from FTP site.
- Once you are successfully connected, you can see your web site folders in Remote site section. Expand the folder and navigate to /site/wwwroot folder.
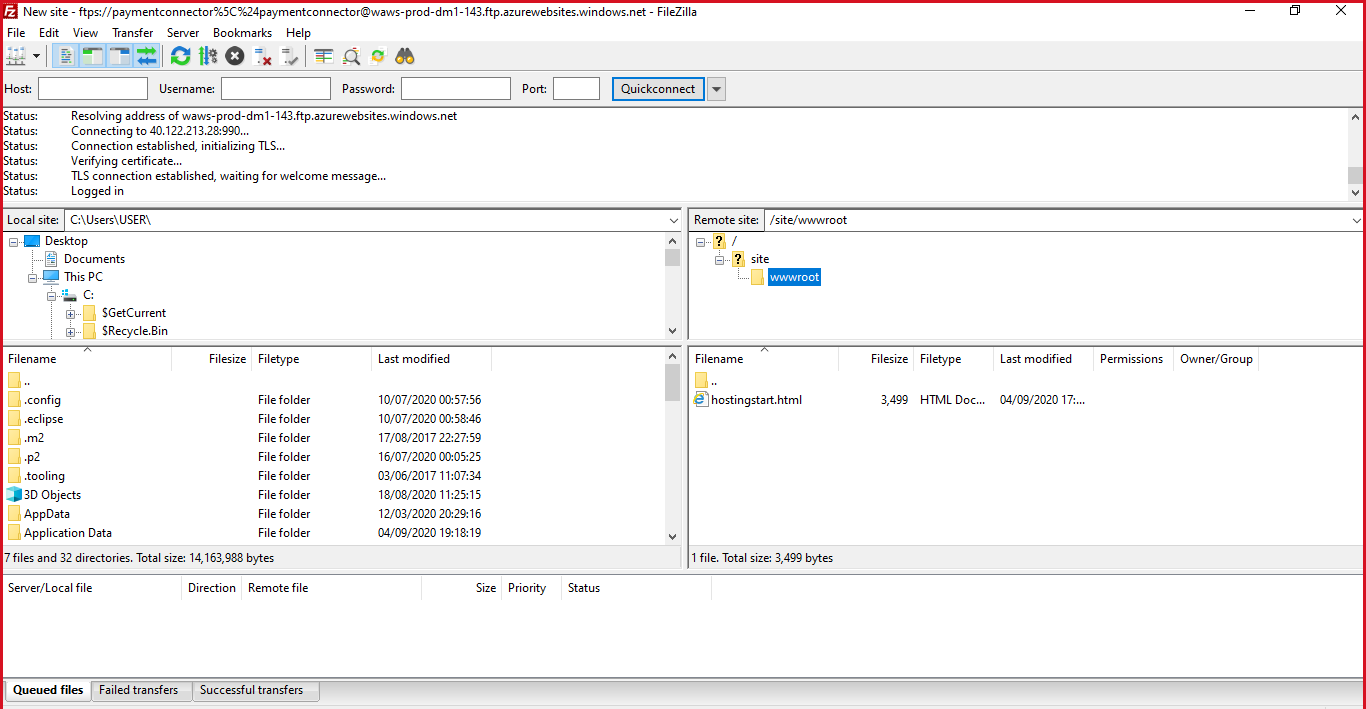
- In Local site section, navigate to the folder you extracted from zip file.
- Once you are there, right click on each folder and file one by one and select Add to queue option to add the file/folder to queue. See files getting added to queue in the Queued files tab at the bottom.
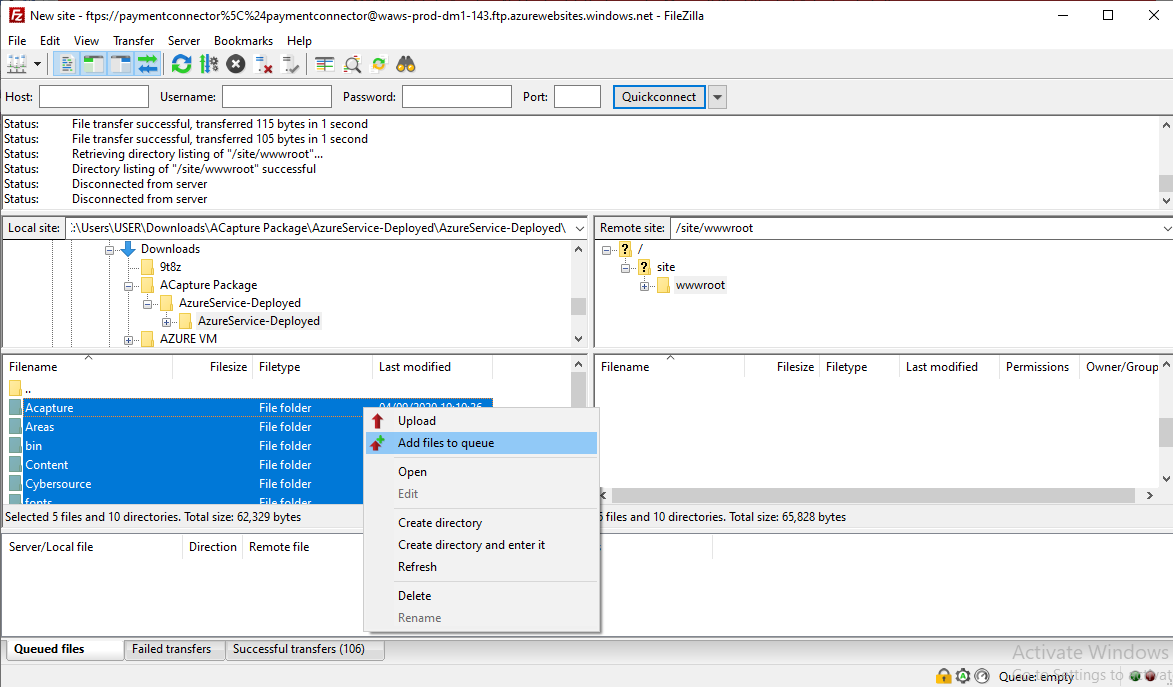
- Right click the root file in the Queued files tab and select Process Queue option.
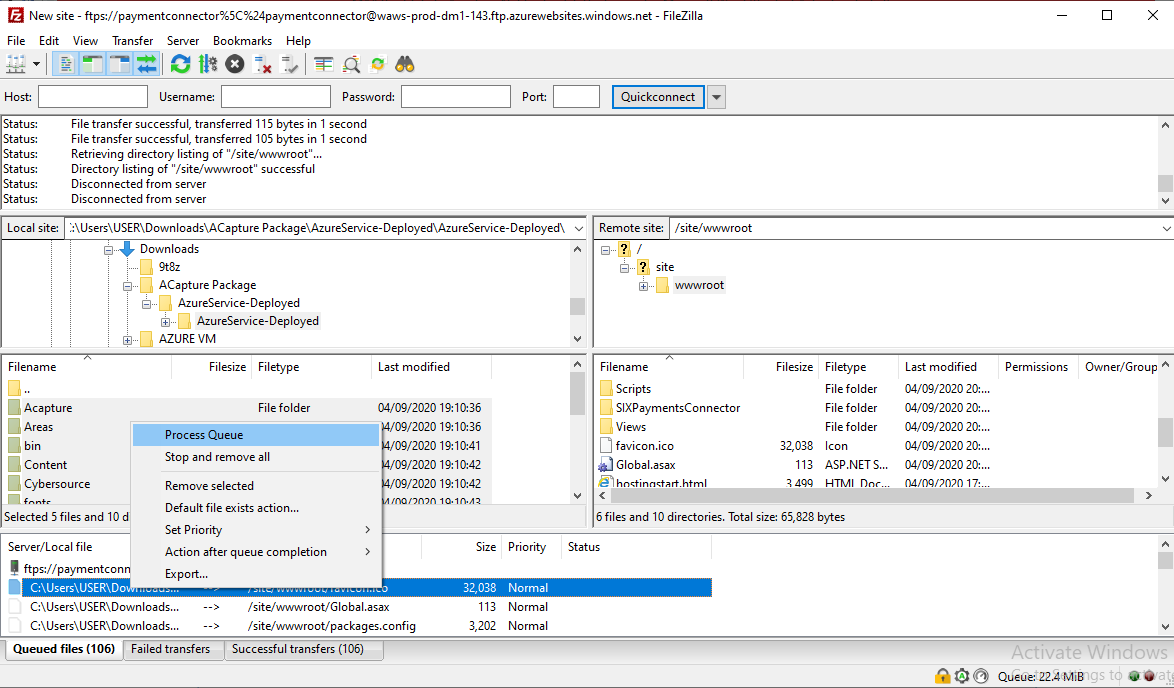
- Wait for all files to be transferred from Queued files tab.
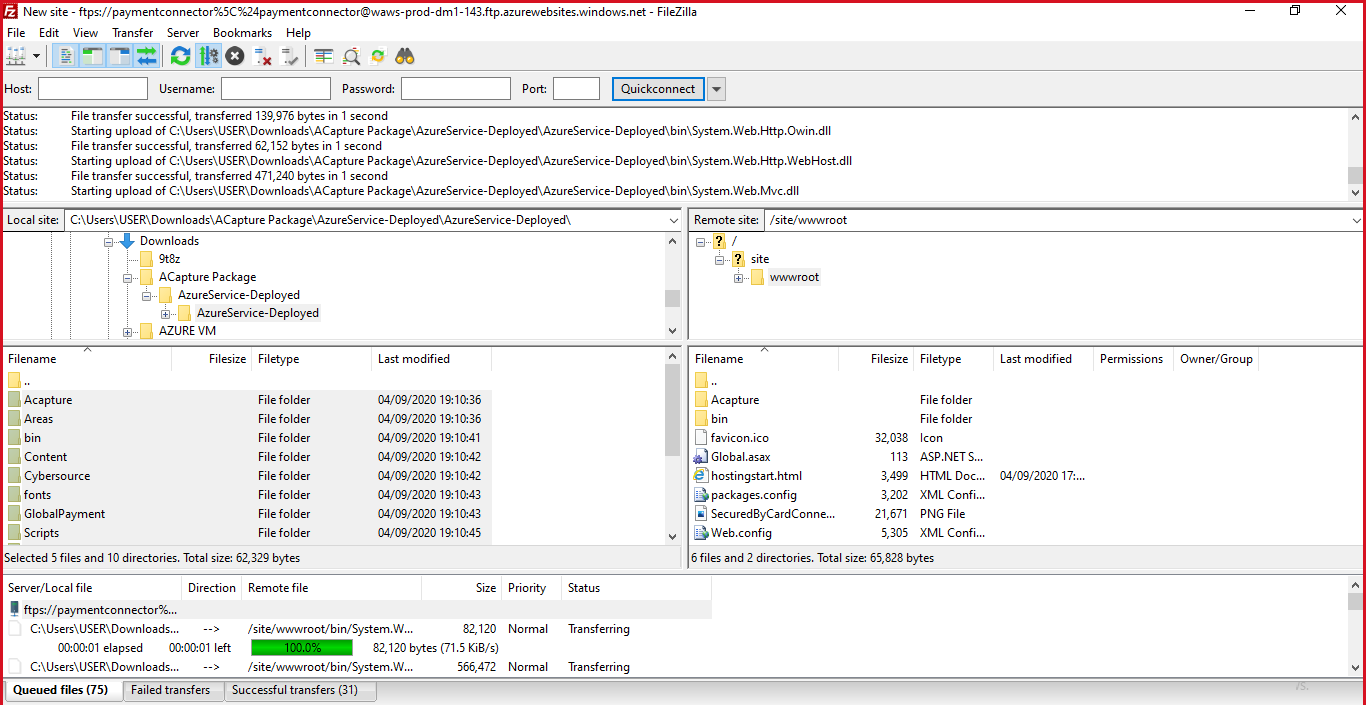
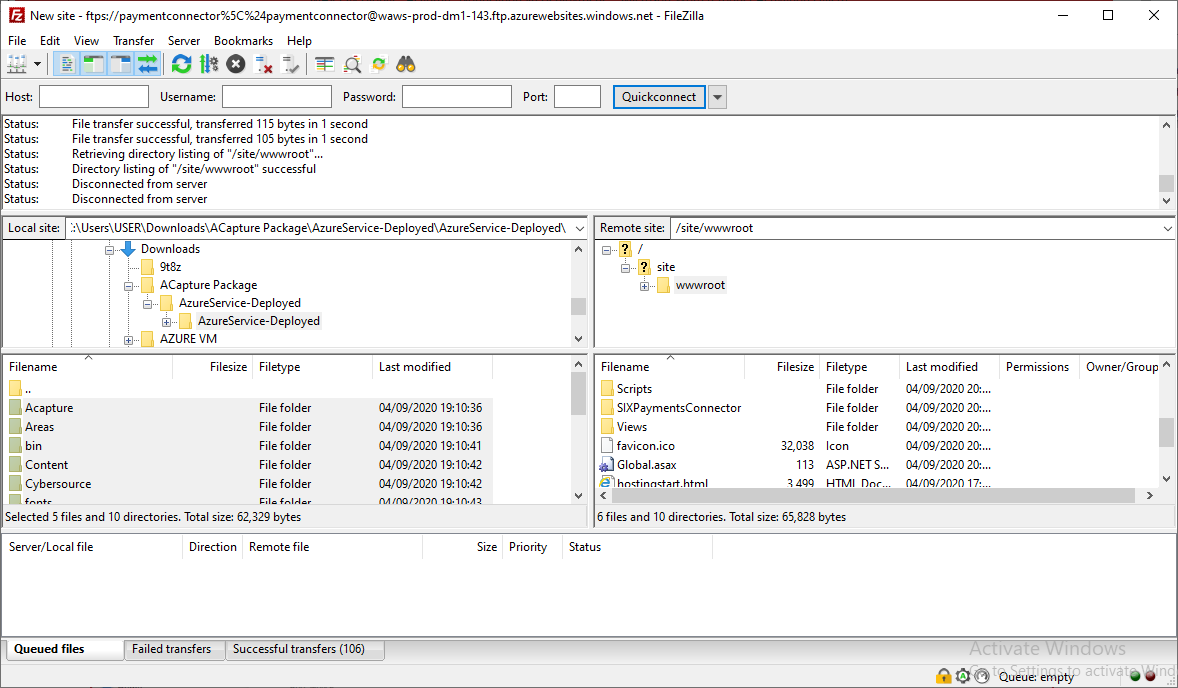
- Confirm all files and folders have been transferred to /site/wwwroot folder in Remote site section. If you find any failed transfers in Failed transfers tab at the bottom, right click and select reset and requeue all option. Go to Queued files back and Process queue again for remaining files.
- You can now close the FTP Client.
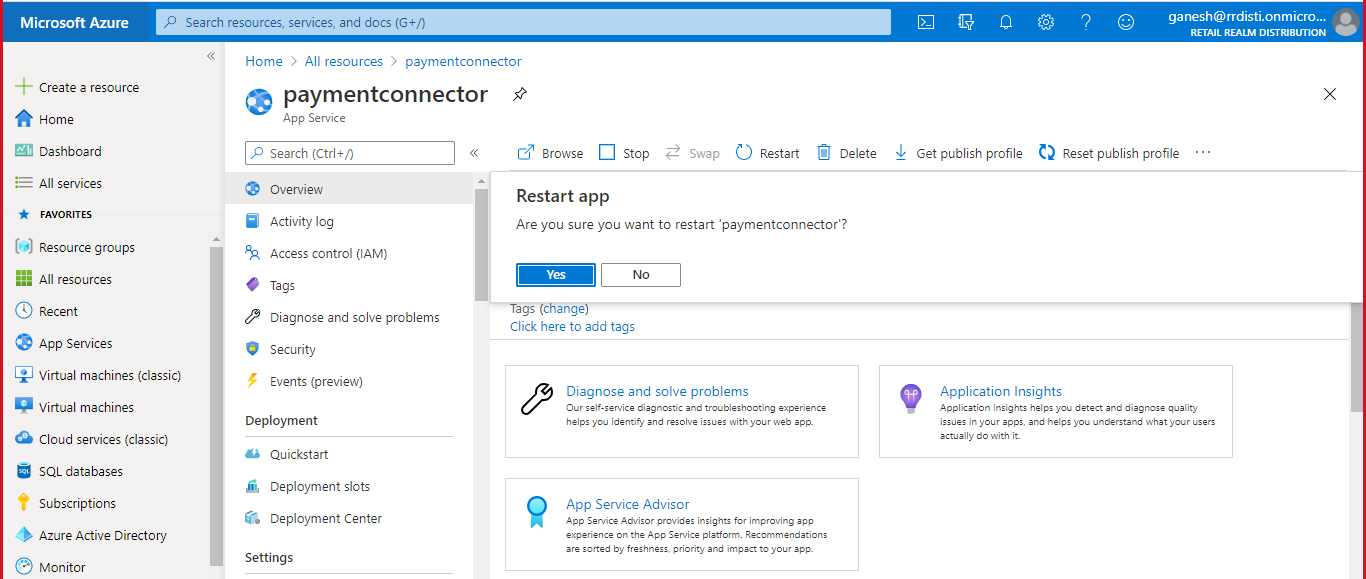
- On Azure portal, go to the Overview section of your site and select Restart.
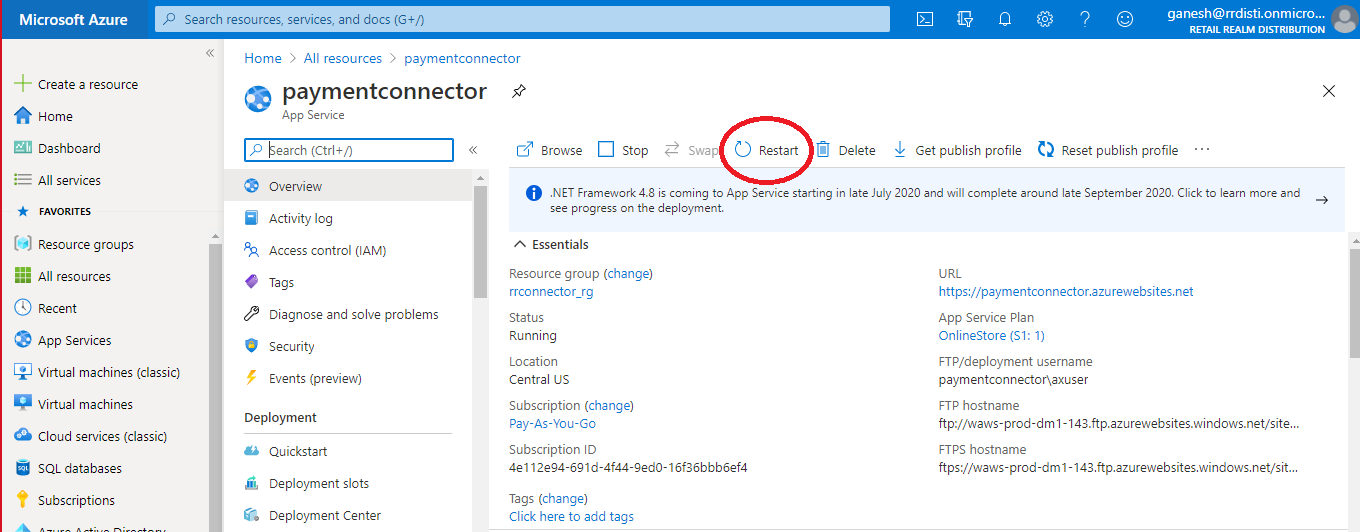
- Select Yes to restart your website. Wait for the site to restart.
- Your Azure website is now ready to use.
Configuring the URLs in Dynamics 365
There are several places in Dynamics 365 where these URLs must be referenced. When using the Hosted Payment Page to tokenize cards, for example within Customer > Credit Cards > New and from within Call center, the Payment services profile will contain a field to point to the Hosted Payment Page. (Payment accept web URL)
The URL consists of the web app URL concatenated with tail for the specific provider
|
Provider |
Sample value |
|
ACapture |
/Acapture/AcaptureCardPage.html |
|
Cybersource |
/Cybersource/CardPage.html |
|
Global Payments |
/GlobalPayment/CardPage.html |
|
Six Payments |
/SixPaymentsConnector/SixPaymentsContentPage.html |
Ecommerce site builder
When deploying the connector to Dynamics 365 Online store, ensure to reference the site URL in site builder under Content security e.g. https://paymentconnector.azurewebsites.net